CEIP Cupiana Mural- ‘25
Learn more about our mural process below- Digital Drawings, Outlining and Wall Prep, and Painting
Part 1: Digital Drawings
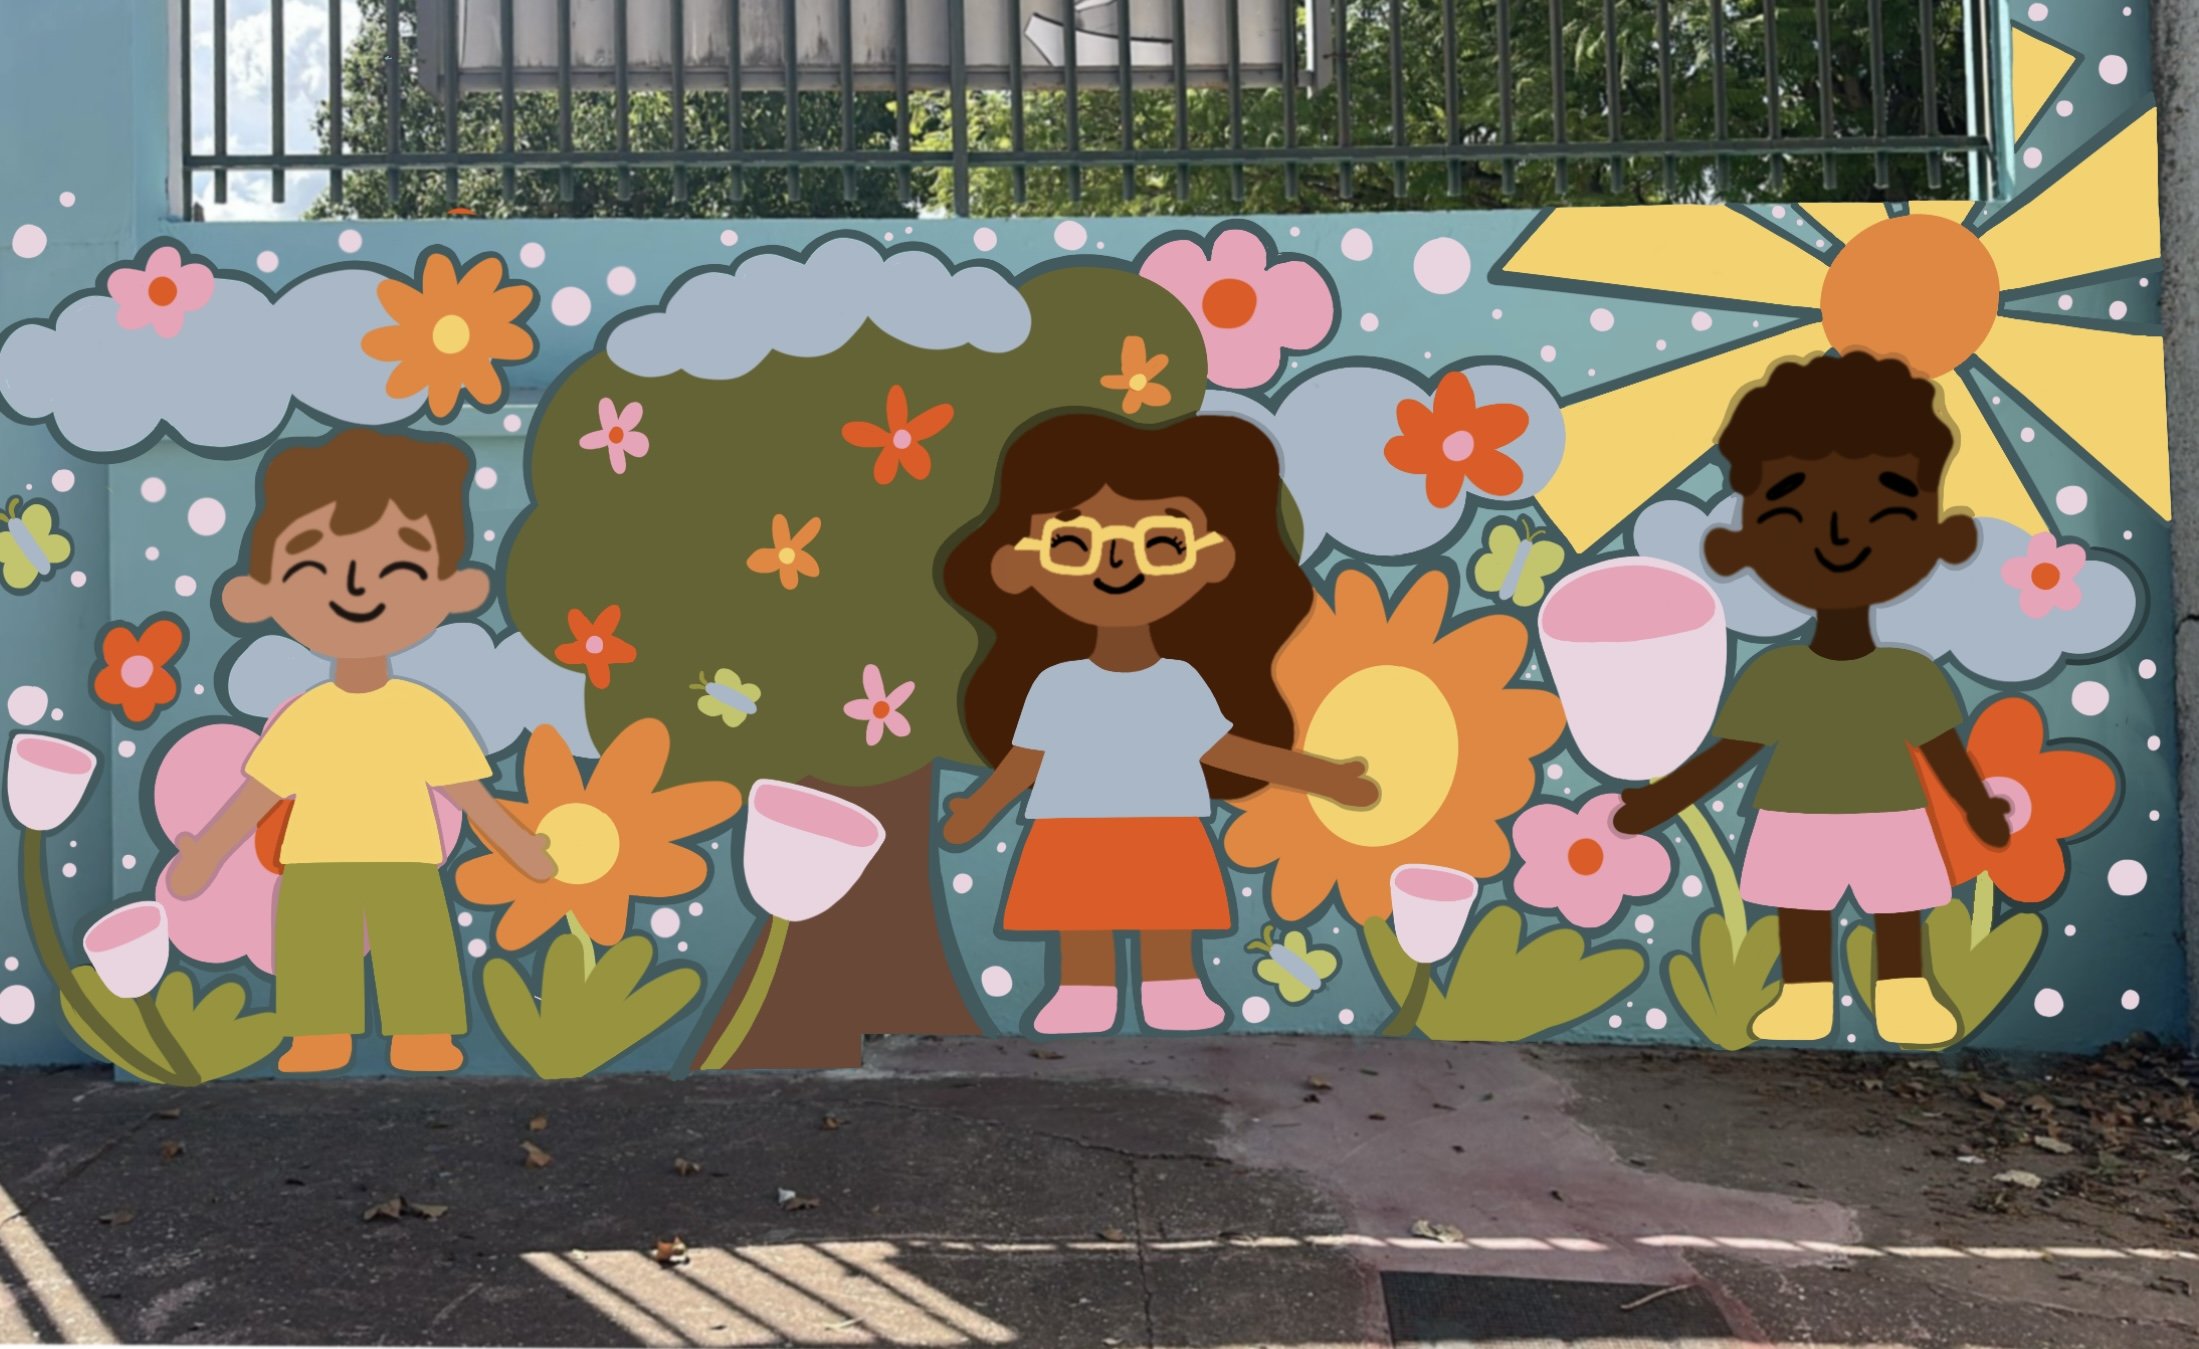
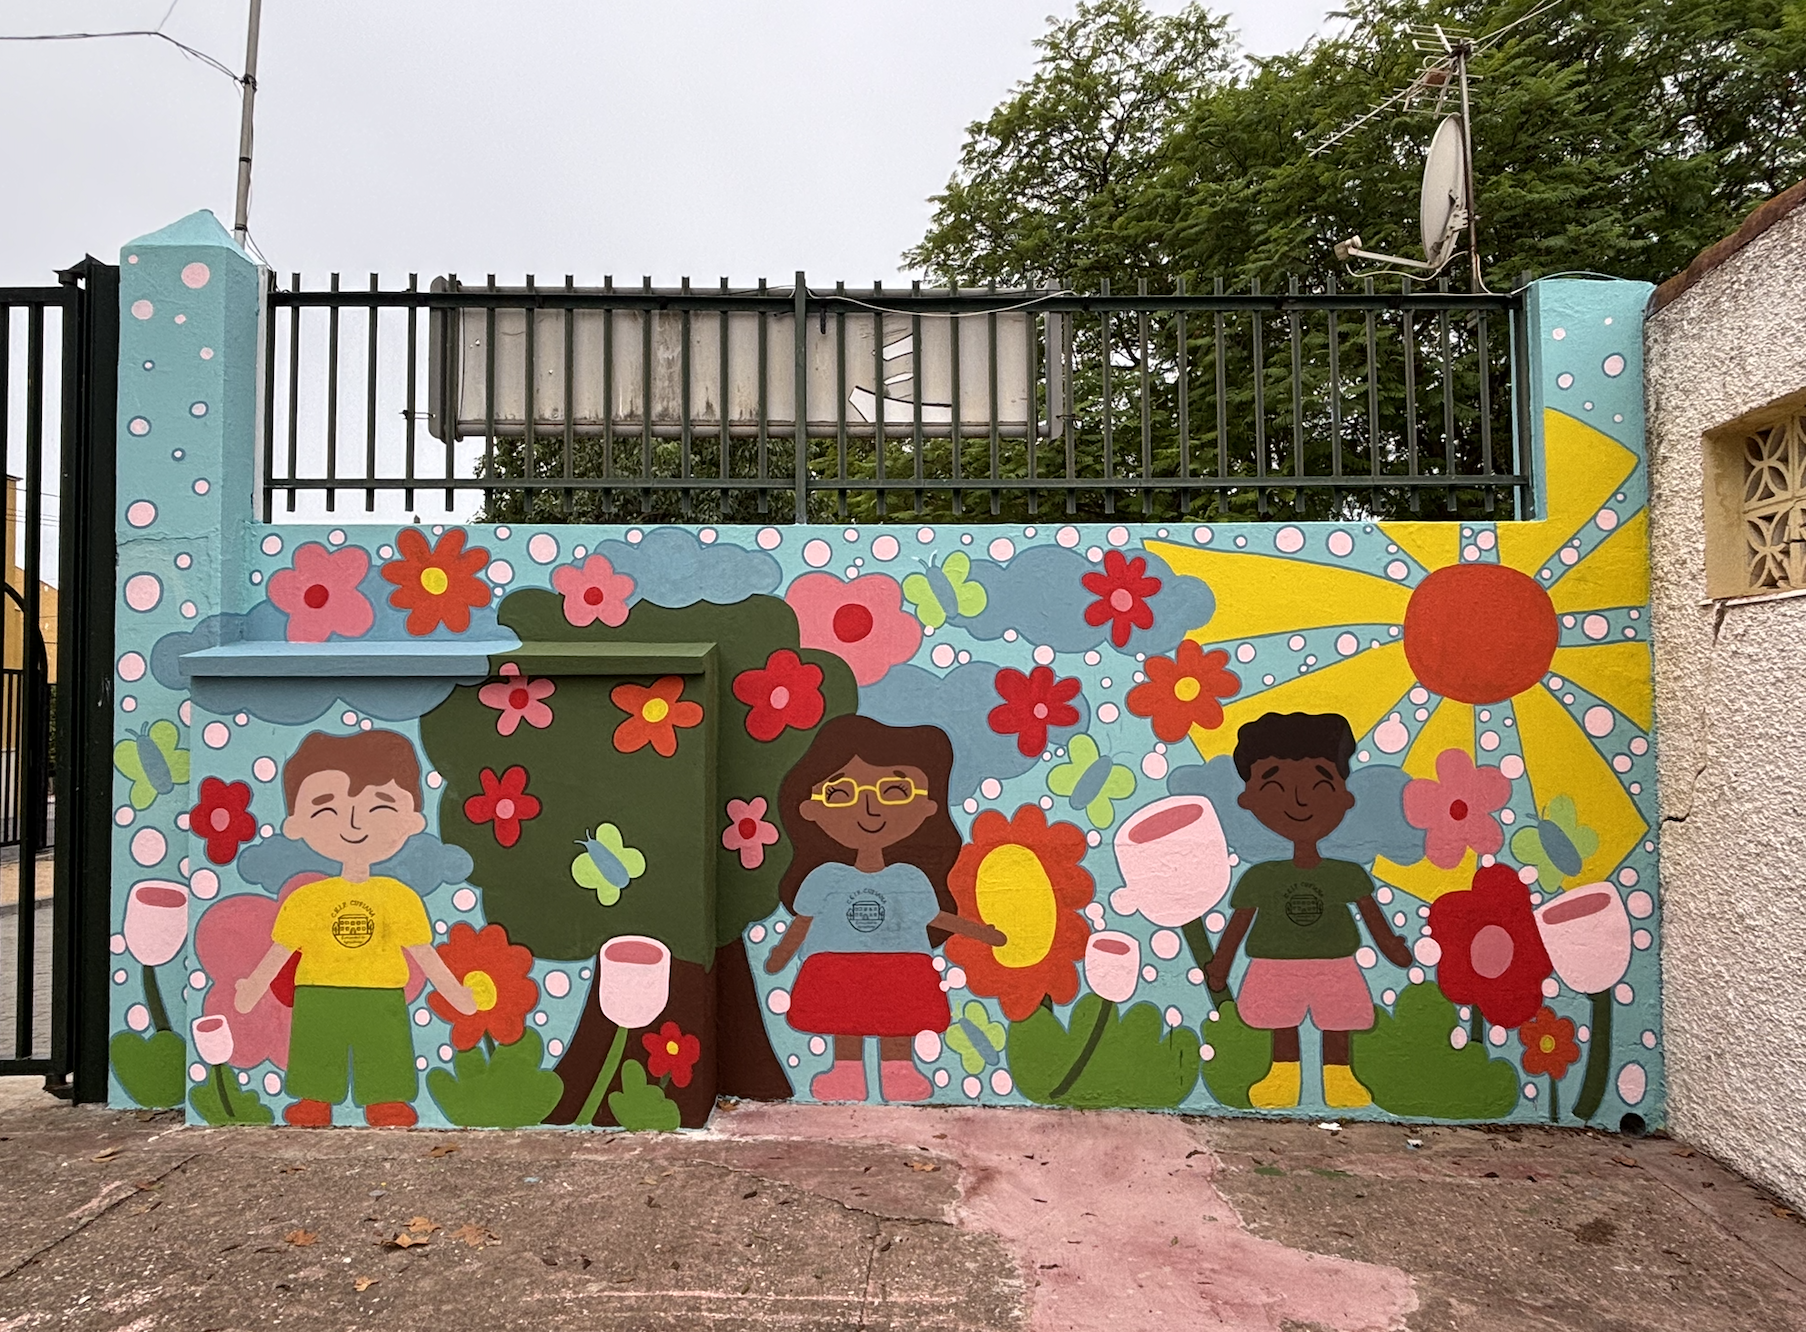
Step 1: We design all of our murals on ProCreate. The brainstorming process is different for every person, project, and wall. In an ideal situation, we would have had the students design the mural. However, because this mural was being created in partnership with the Semana de Proximidad, we were under a time constraint and unable to schedule design workshops with the students. After meeting with the school's administration, we were informed that they wanted a colorful mural featuring children that included the school's logo. After brainstorming the old-fashioned way — on paper — we move to ProCreate. We find it helpful to draw on top of a picture on the wall. This helps design the mural with the specifics of the wall, providing a scale and a sense of what the mural will actually look like.
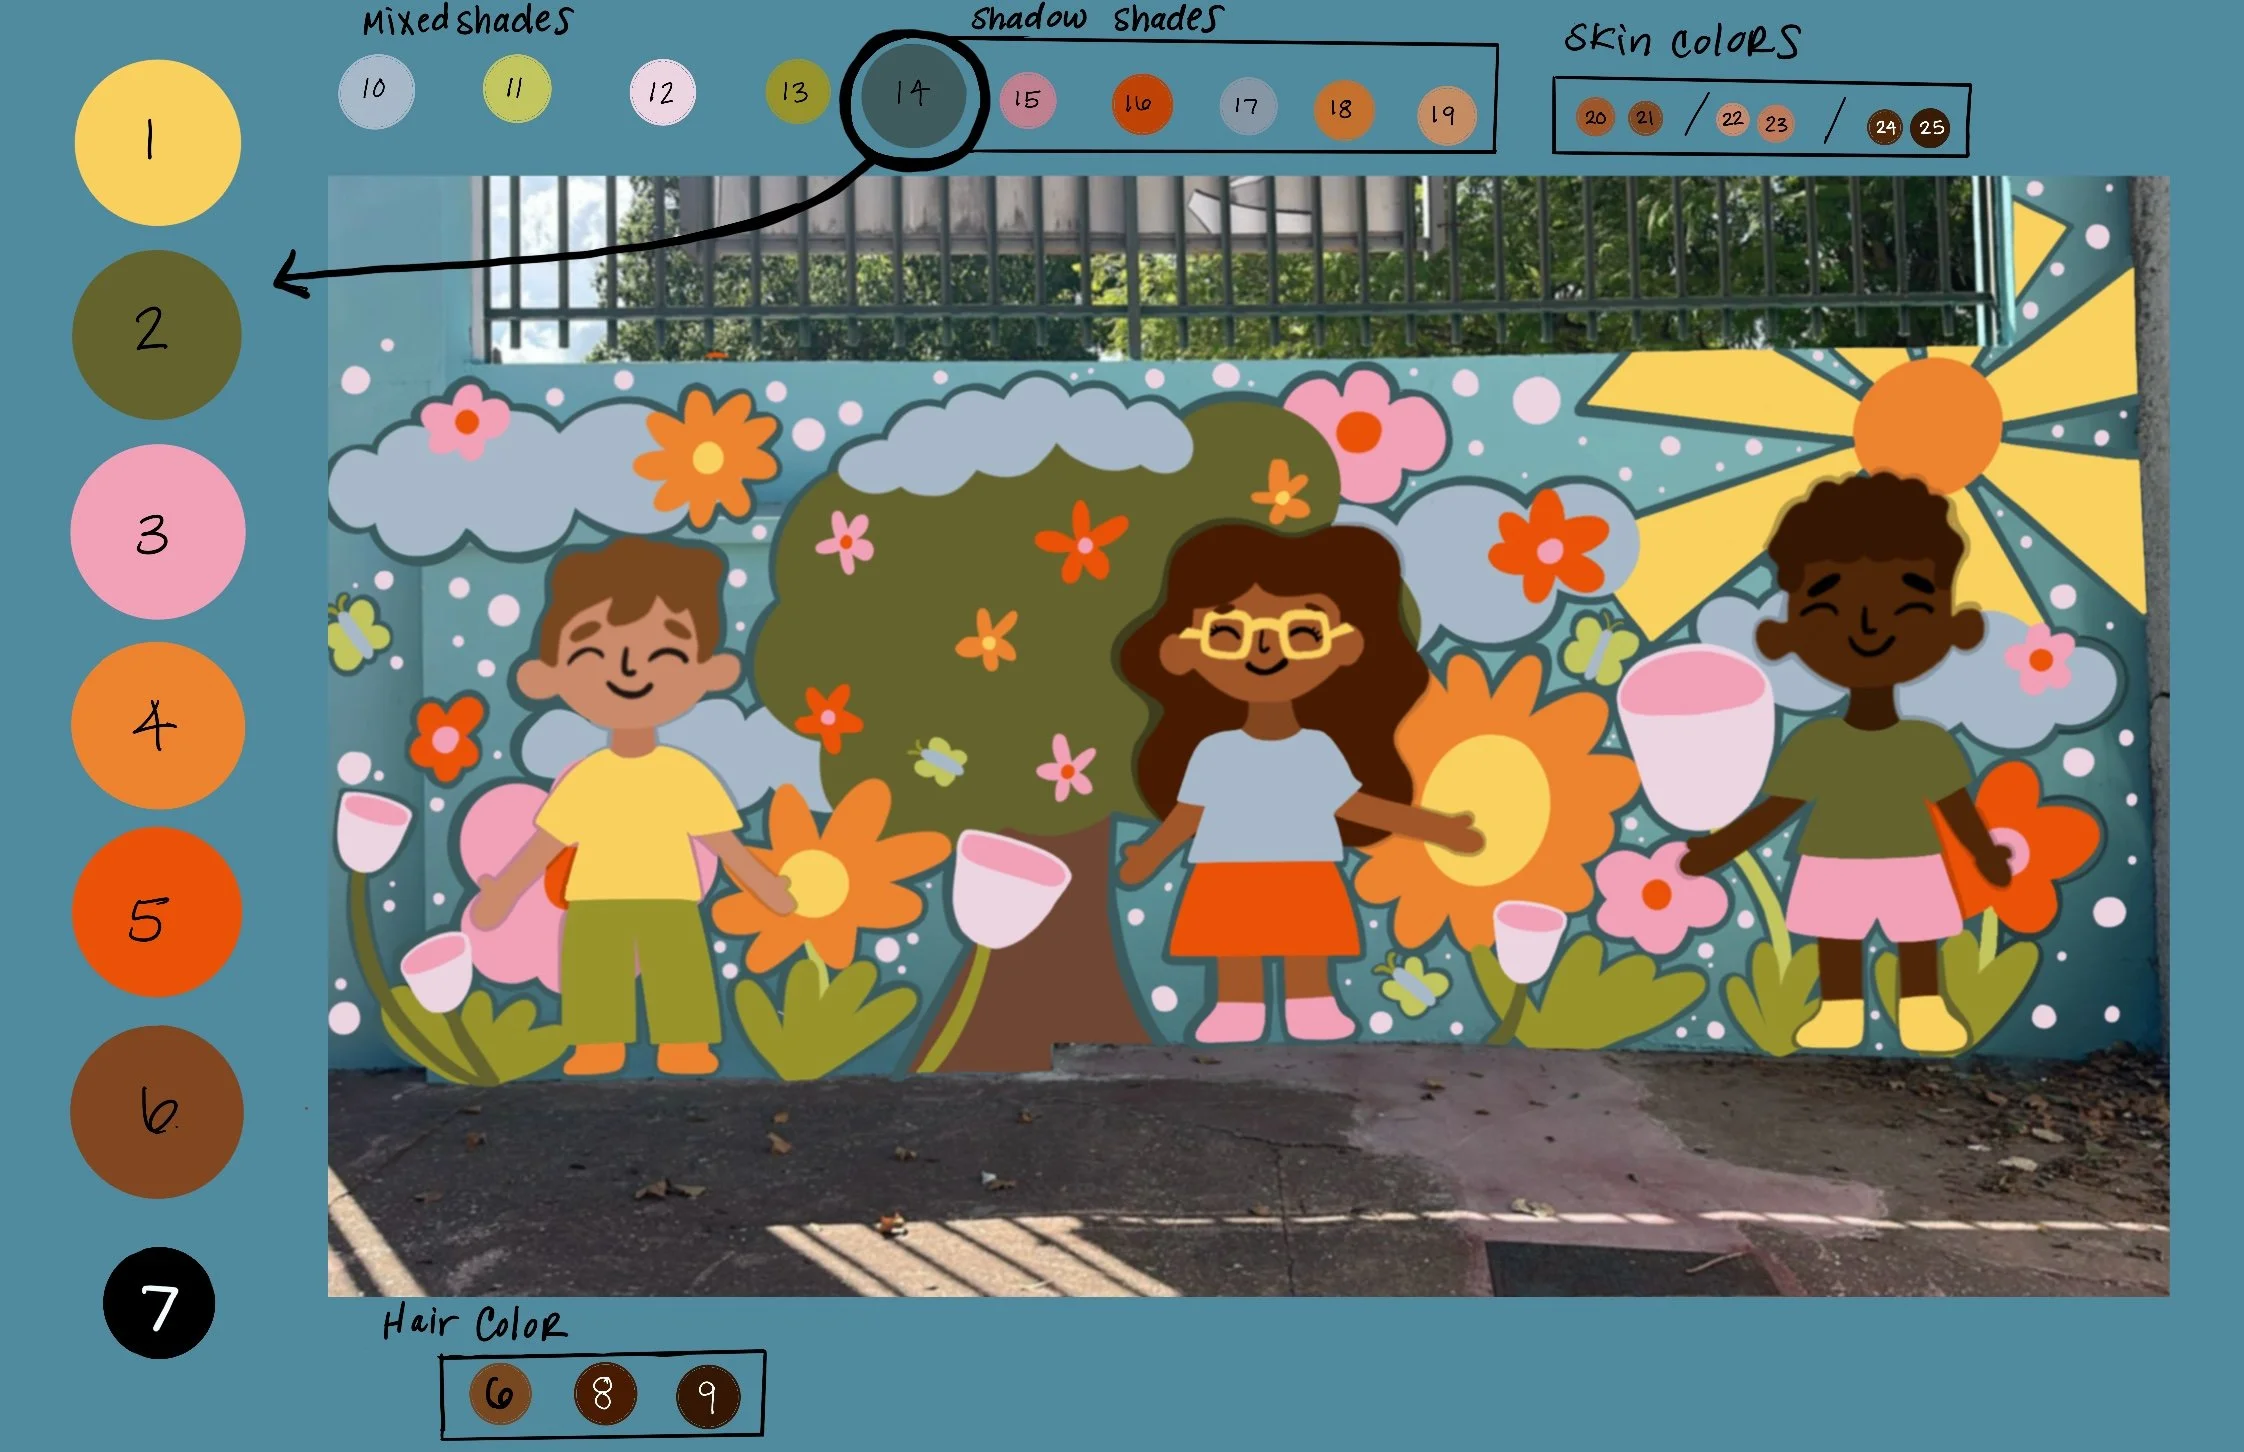
Step 2: Once the design is finalized, we create a color guide. This helps see how many different colors and shades will be used and can simplify the color scheme if needed. In the brainstorming process, we choose a general color scheme, but during this stage, we simplify and finalize the colors. We organize the colors based on which ones are used most, our “main colors: and which colors can be mixed using are “main colors”. We then assign each color a number.
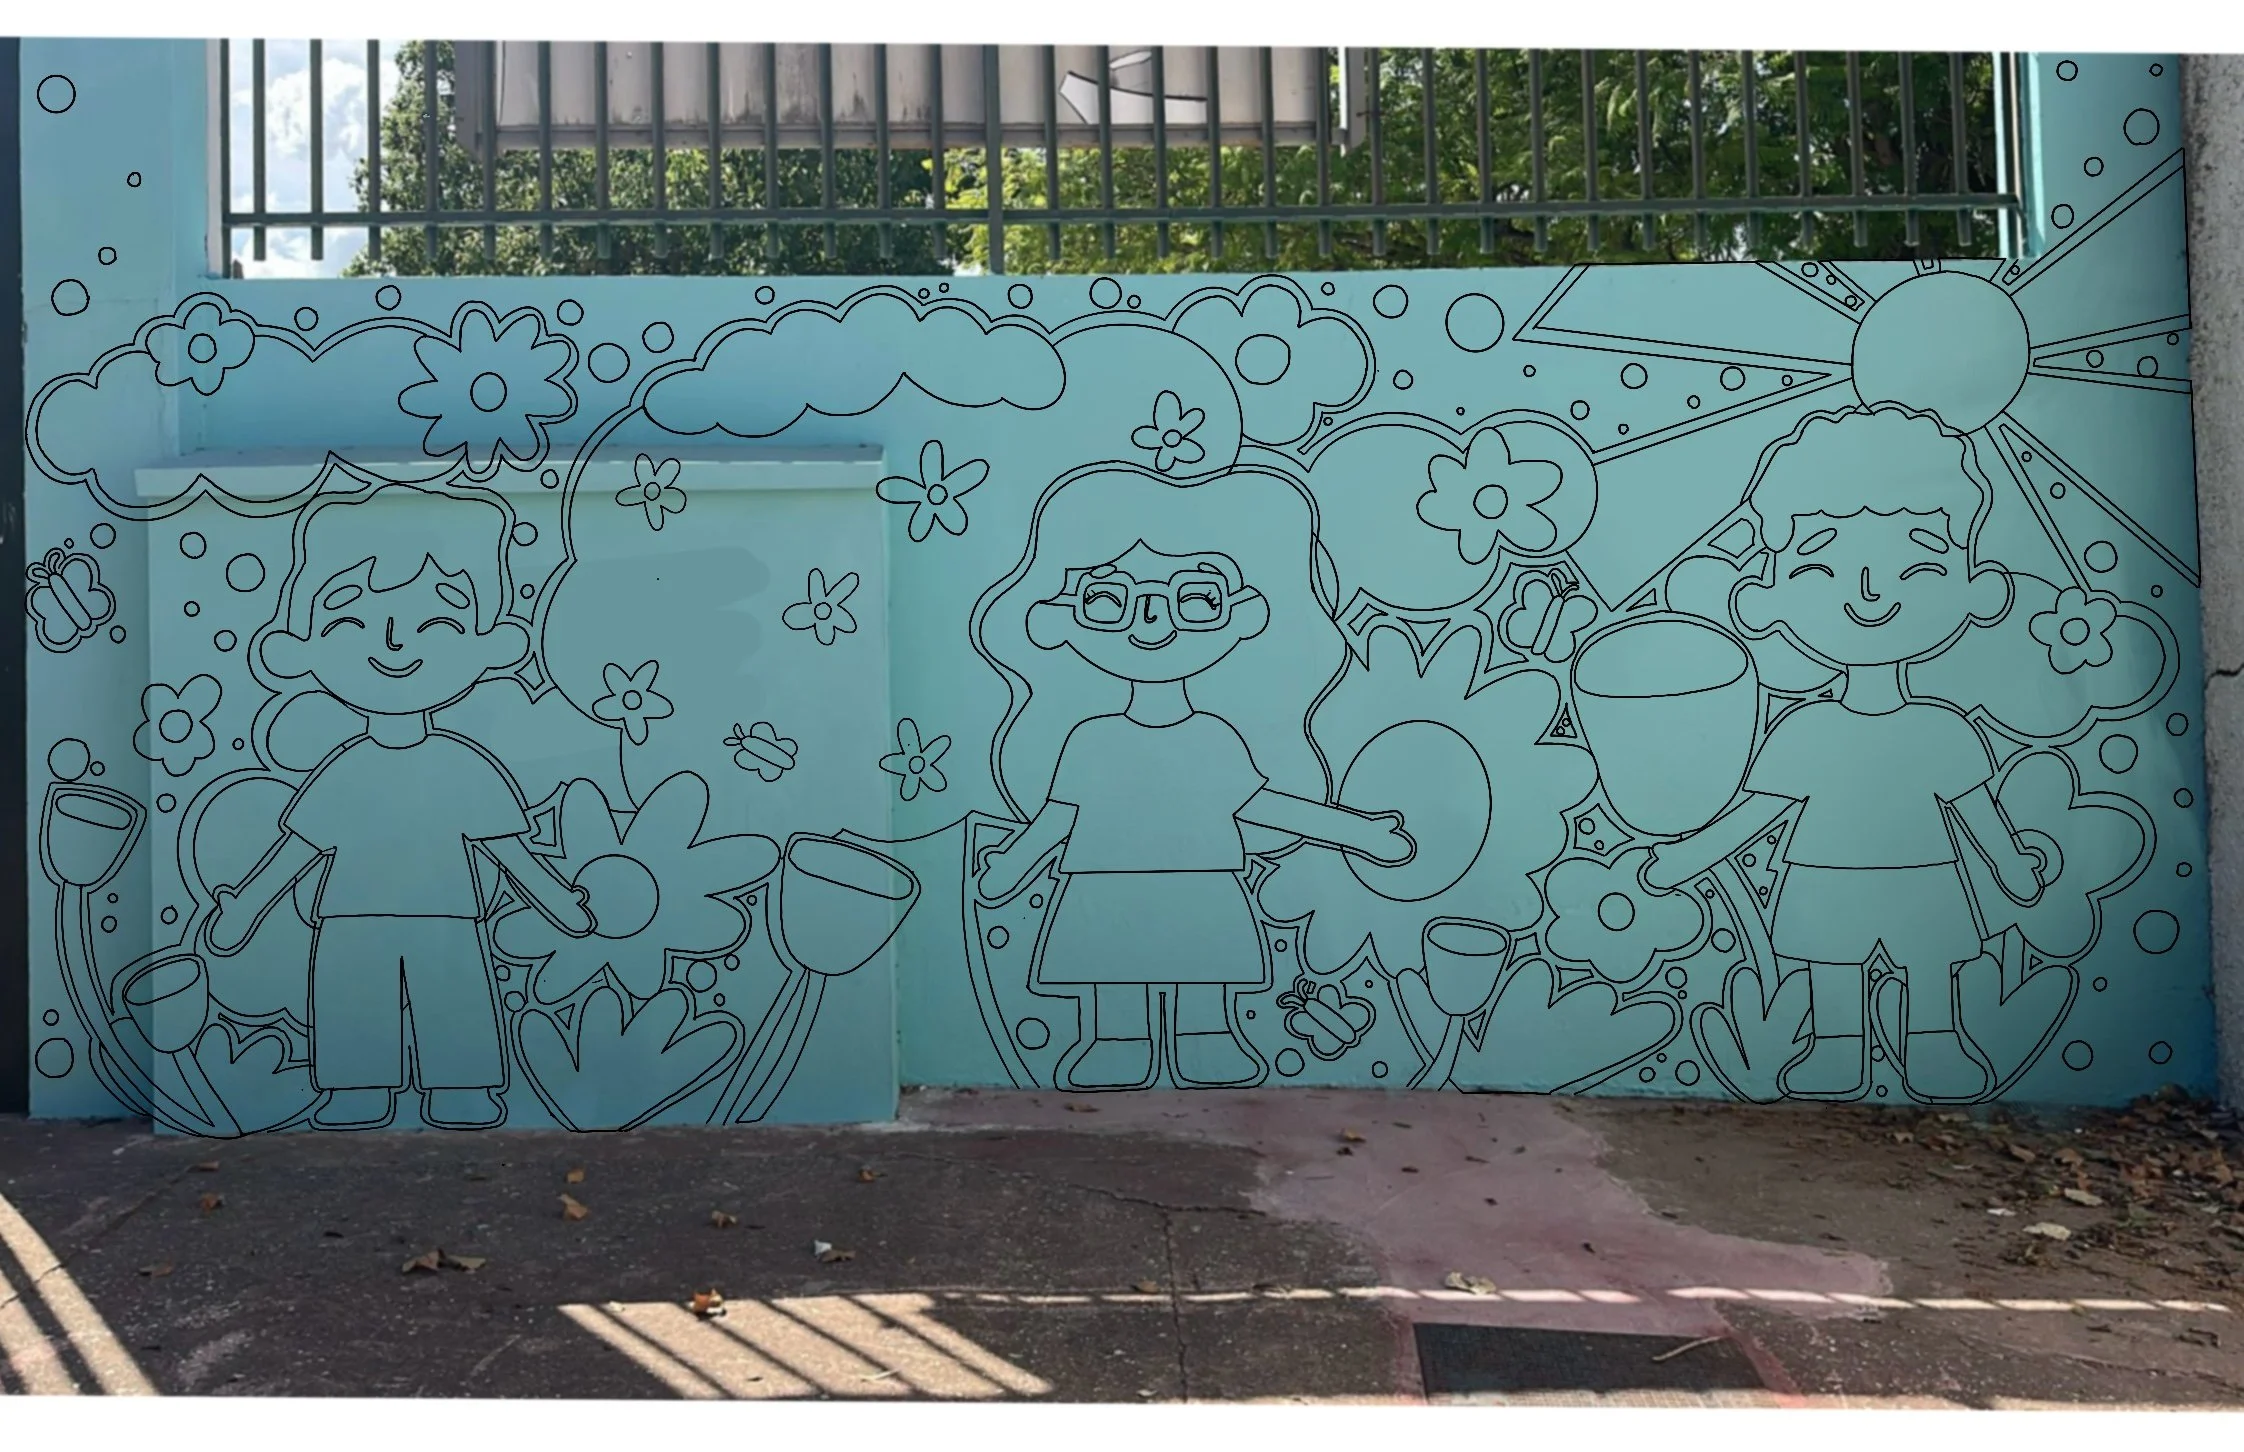
Step 3: We then create a black outline of the mural. This helps when it's time to outline the mural onto the wall.

Step 4: Using the same black outline, we use the numbers we assigned to each color to create a 'paint my numbers' design for the murals. This is incredibly helpful when you have groups painting the mural.
Part 2: Wall Prep and Outline
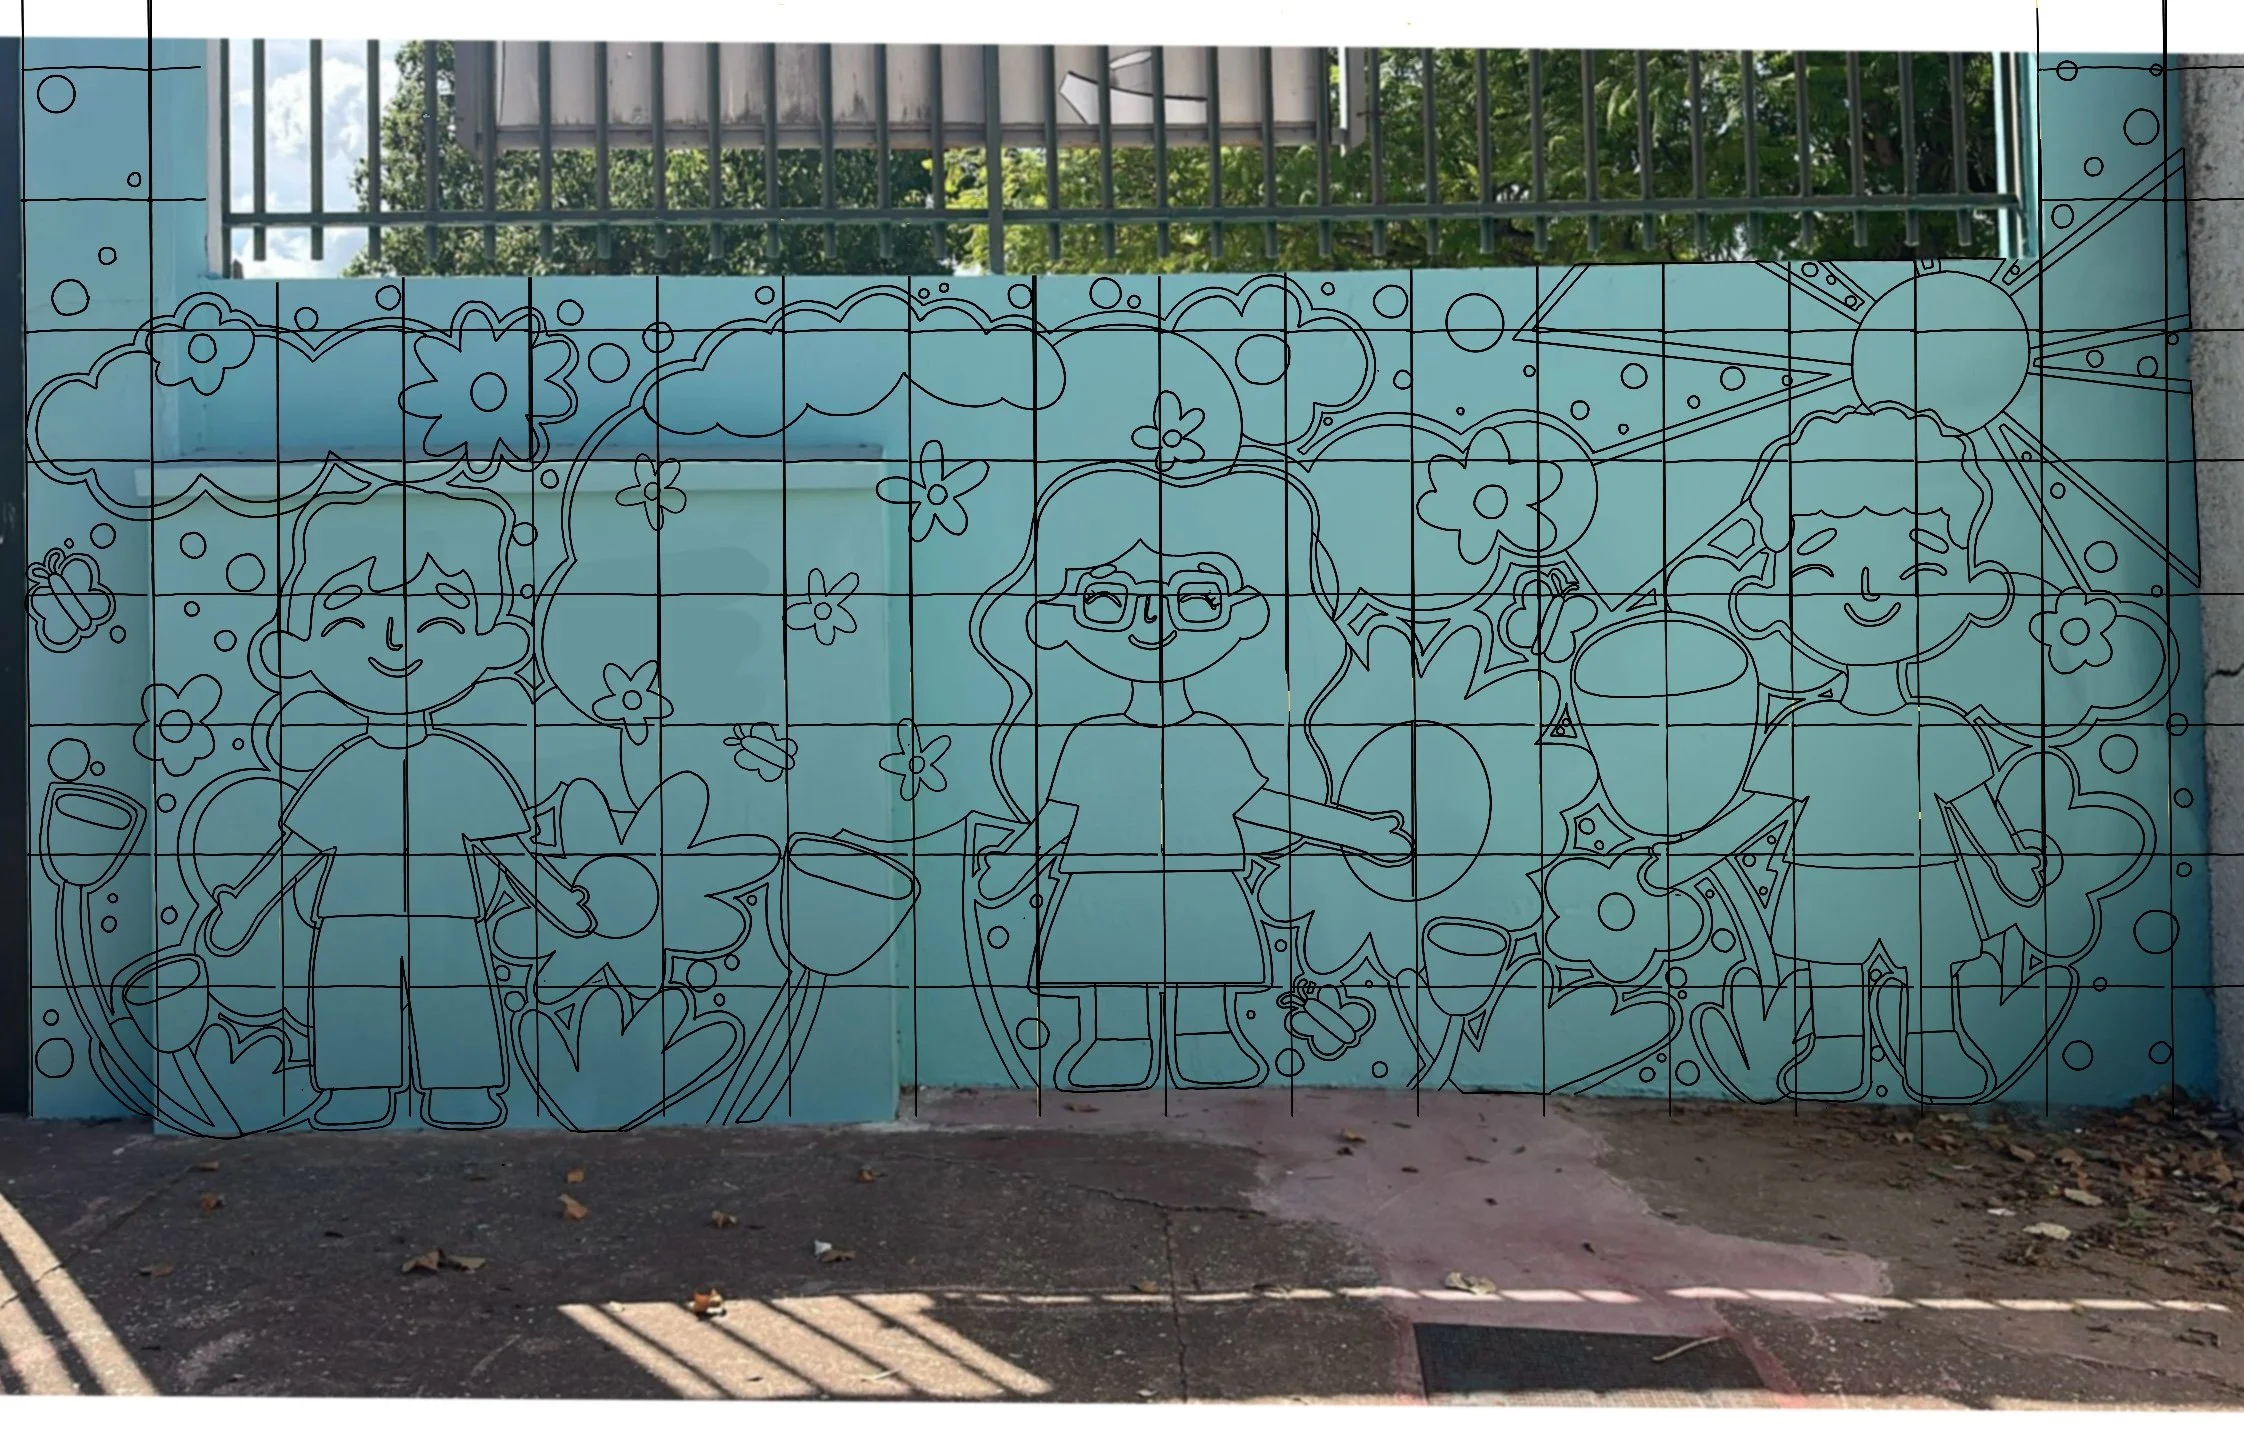
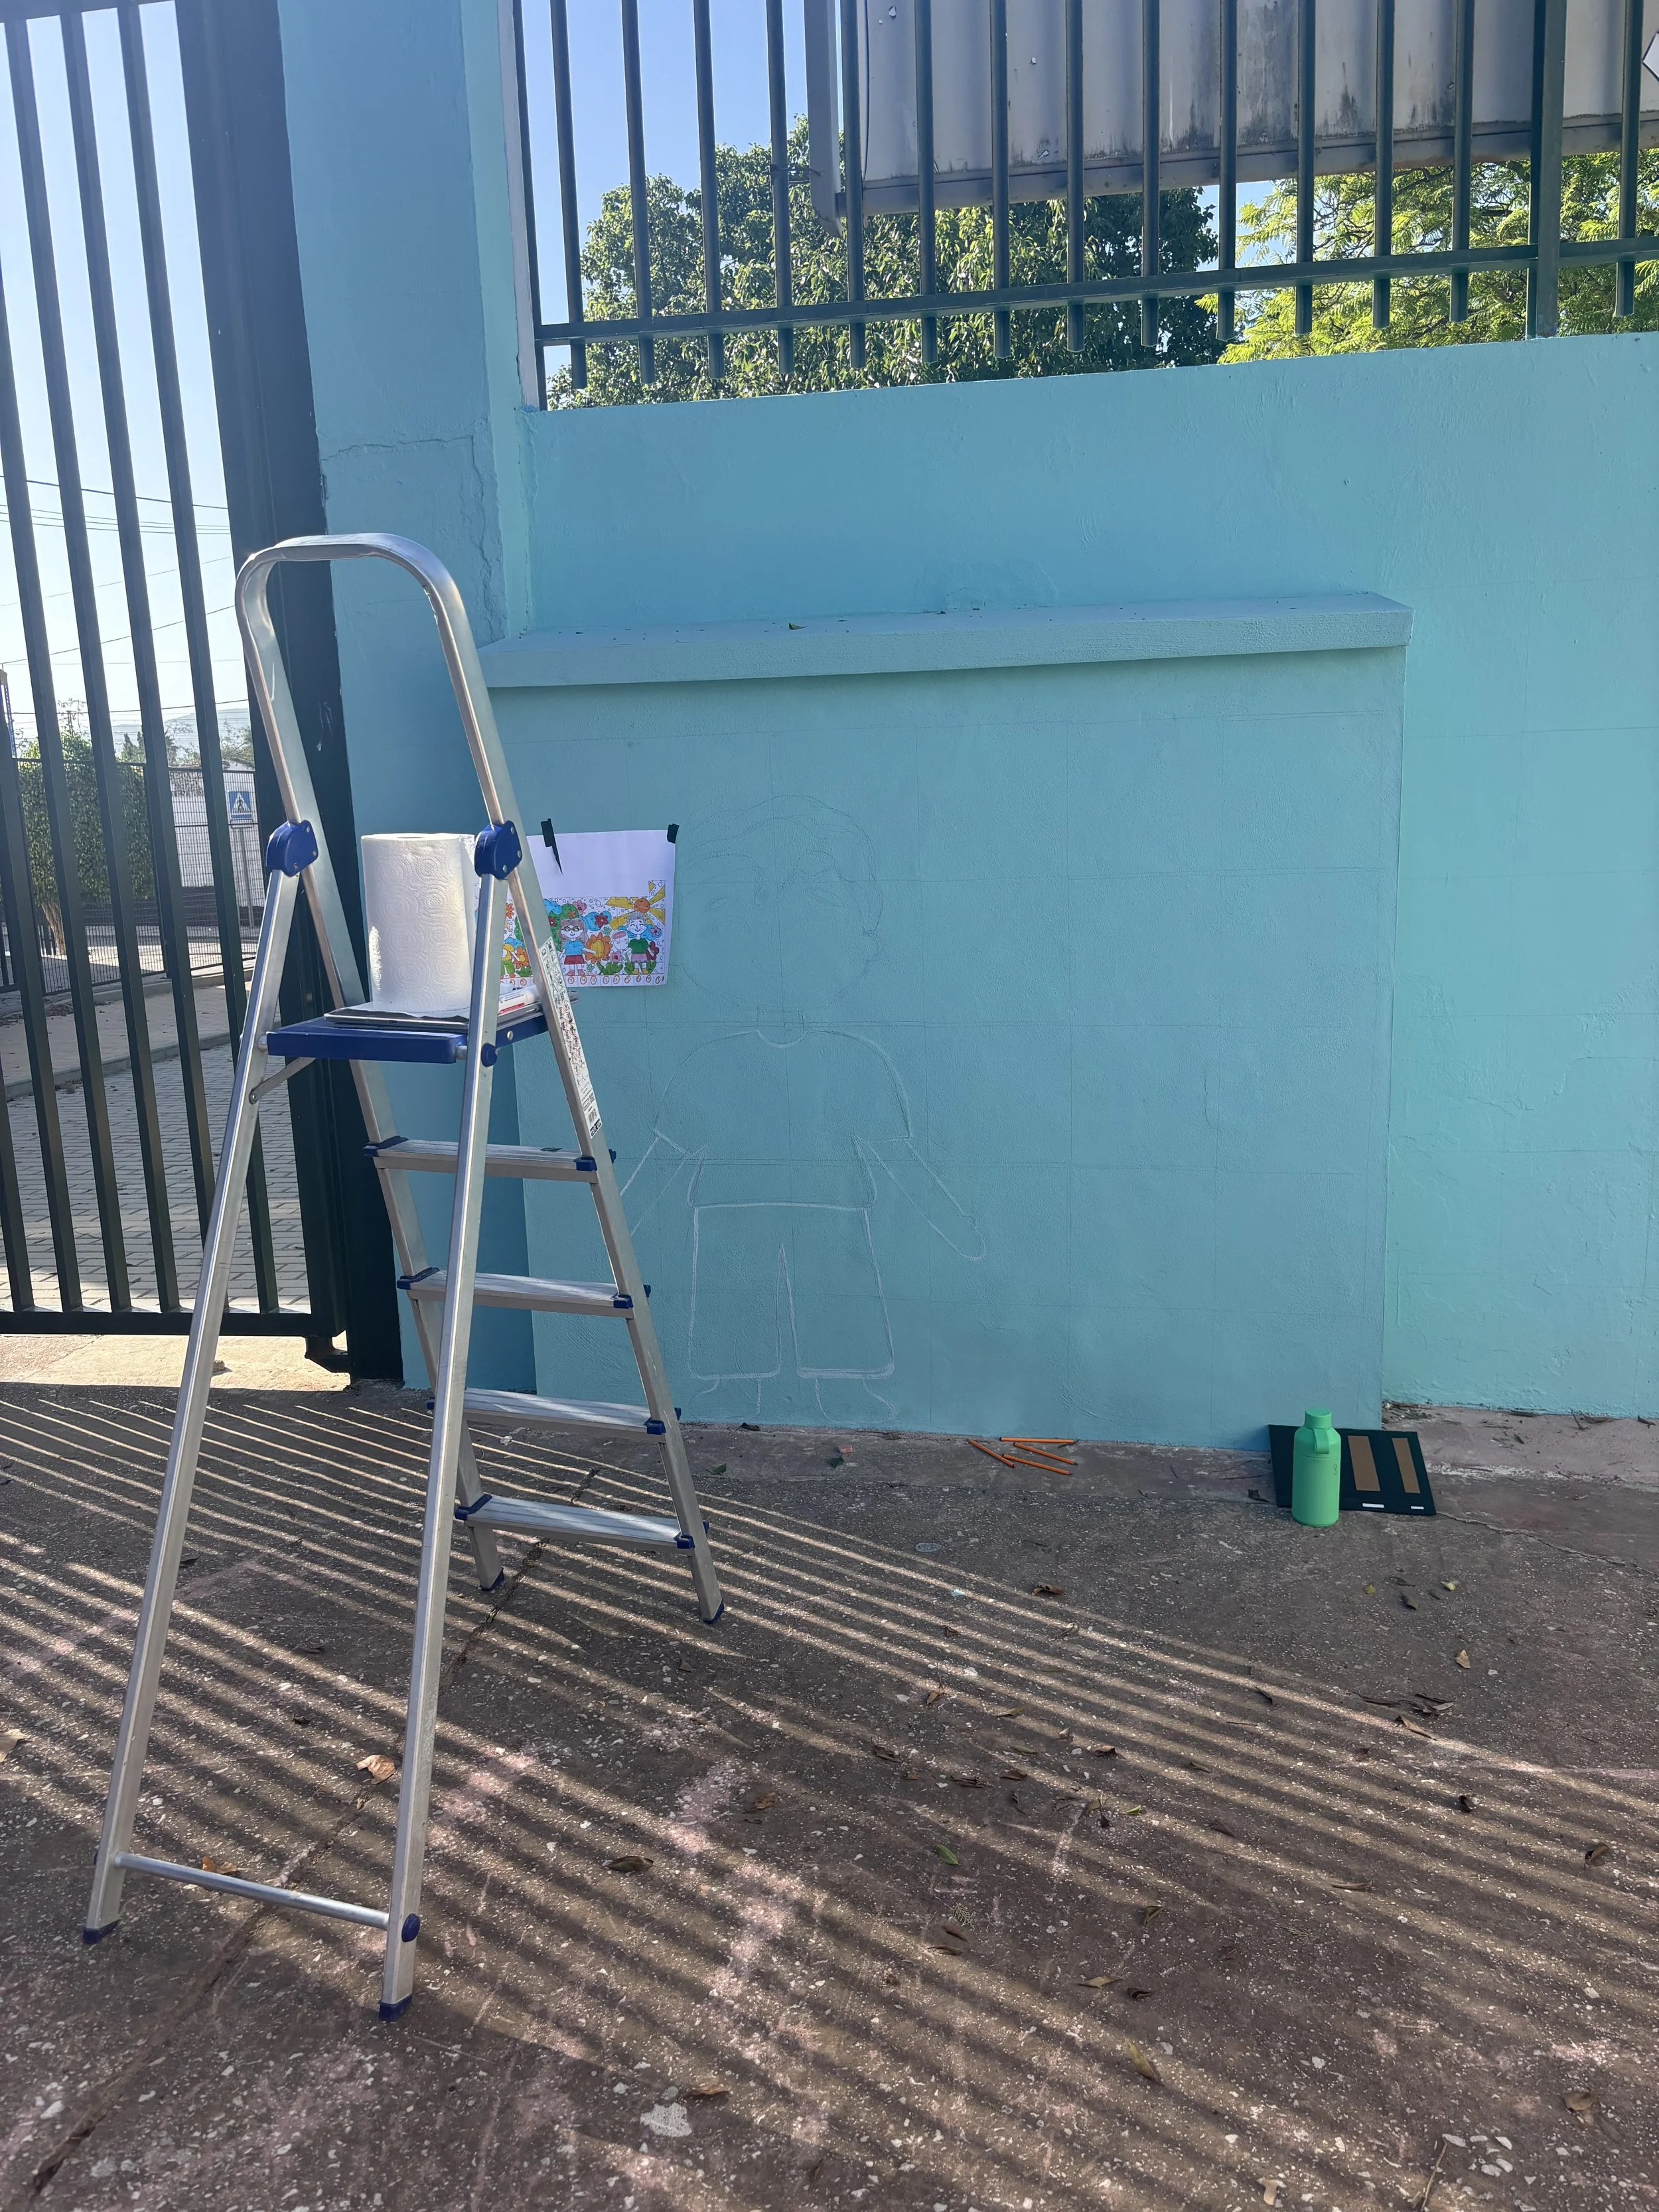
We created a grid over the outline of the mural. One square in the drawing correlated to one foot on the wall. We then create a 1 ft by 1 ft cardboard template, which we use to make the grid on the wall. From there, we began tracing in pencil.
Before starting any design for the mural, it's essential to measure the wall multiple times to ensure you have the correct measurements. Even though we did this, we realized, as we were gridding the mural, that the wall itself was at a significant slant. As a result, we had an extra 2 feet of wall that were not accounted for in the mural. So we just freehanded some extra flowers —it worked out —but always be prepared for something to go wrong and be willing to adapt!
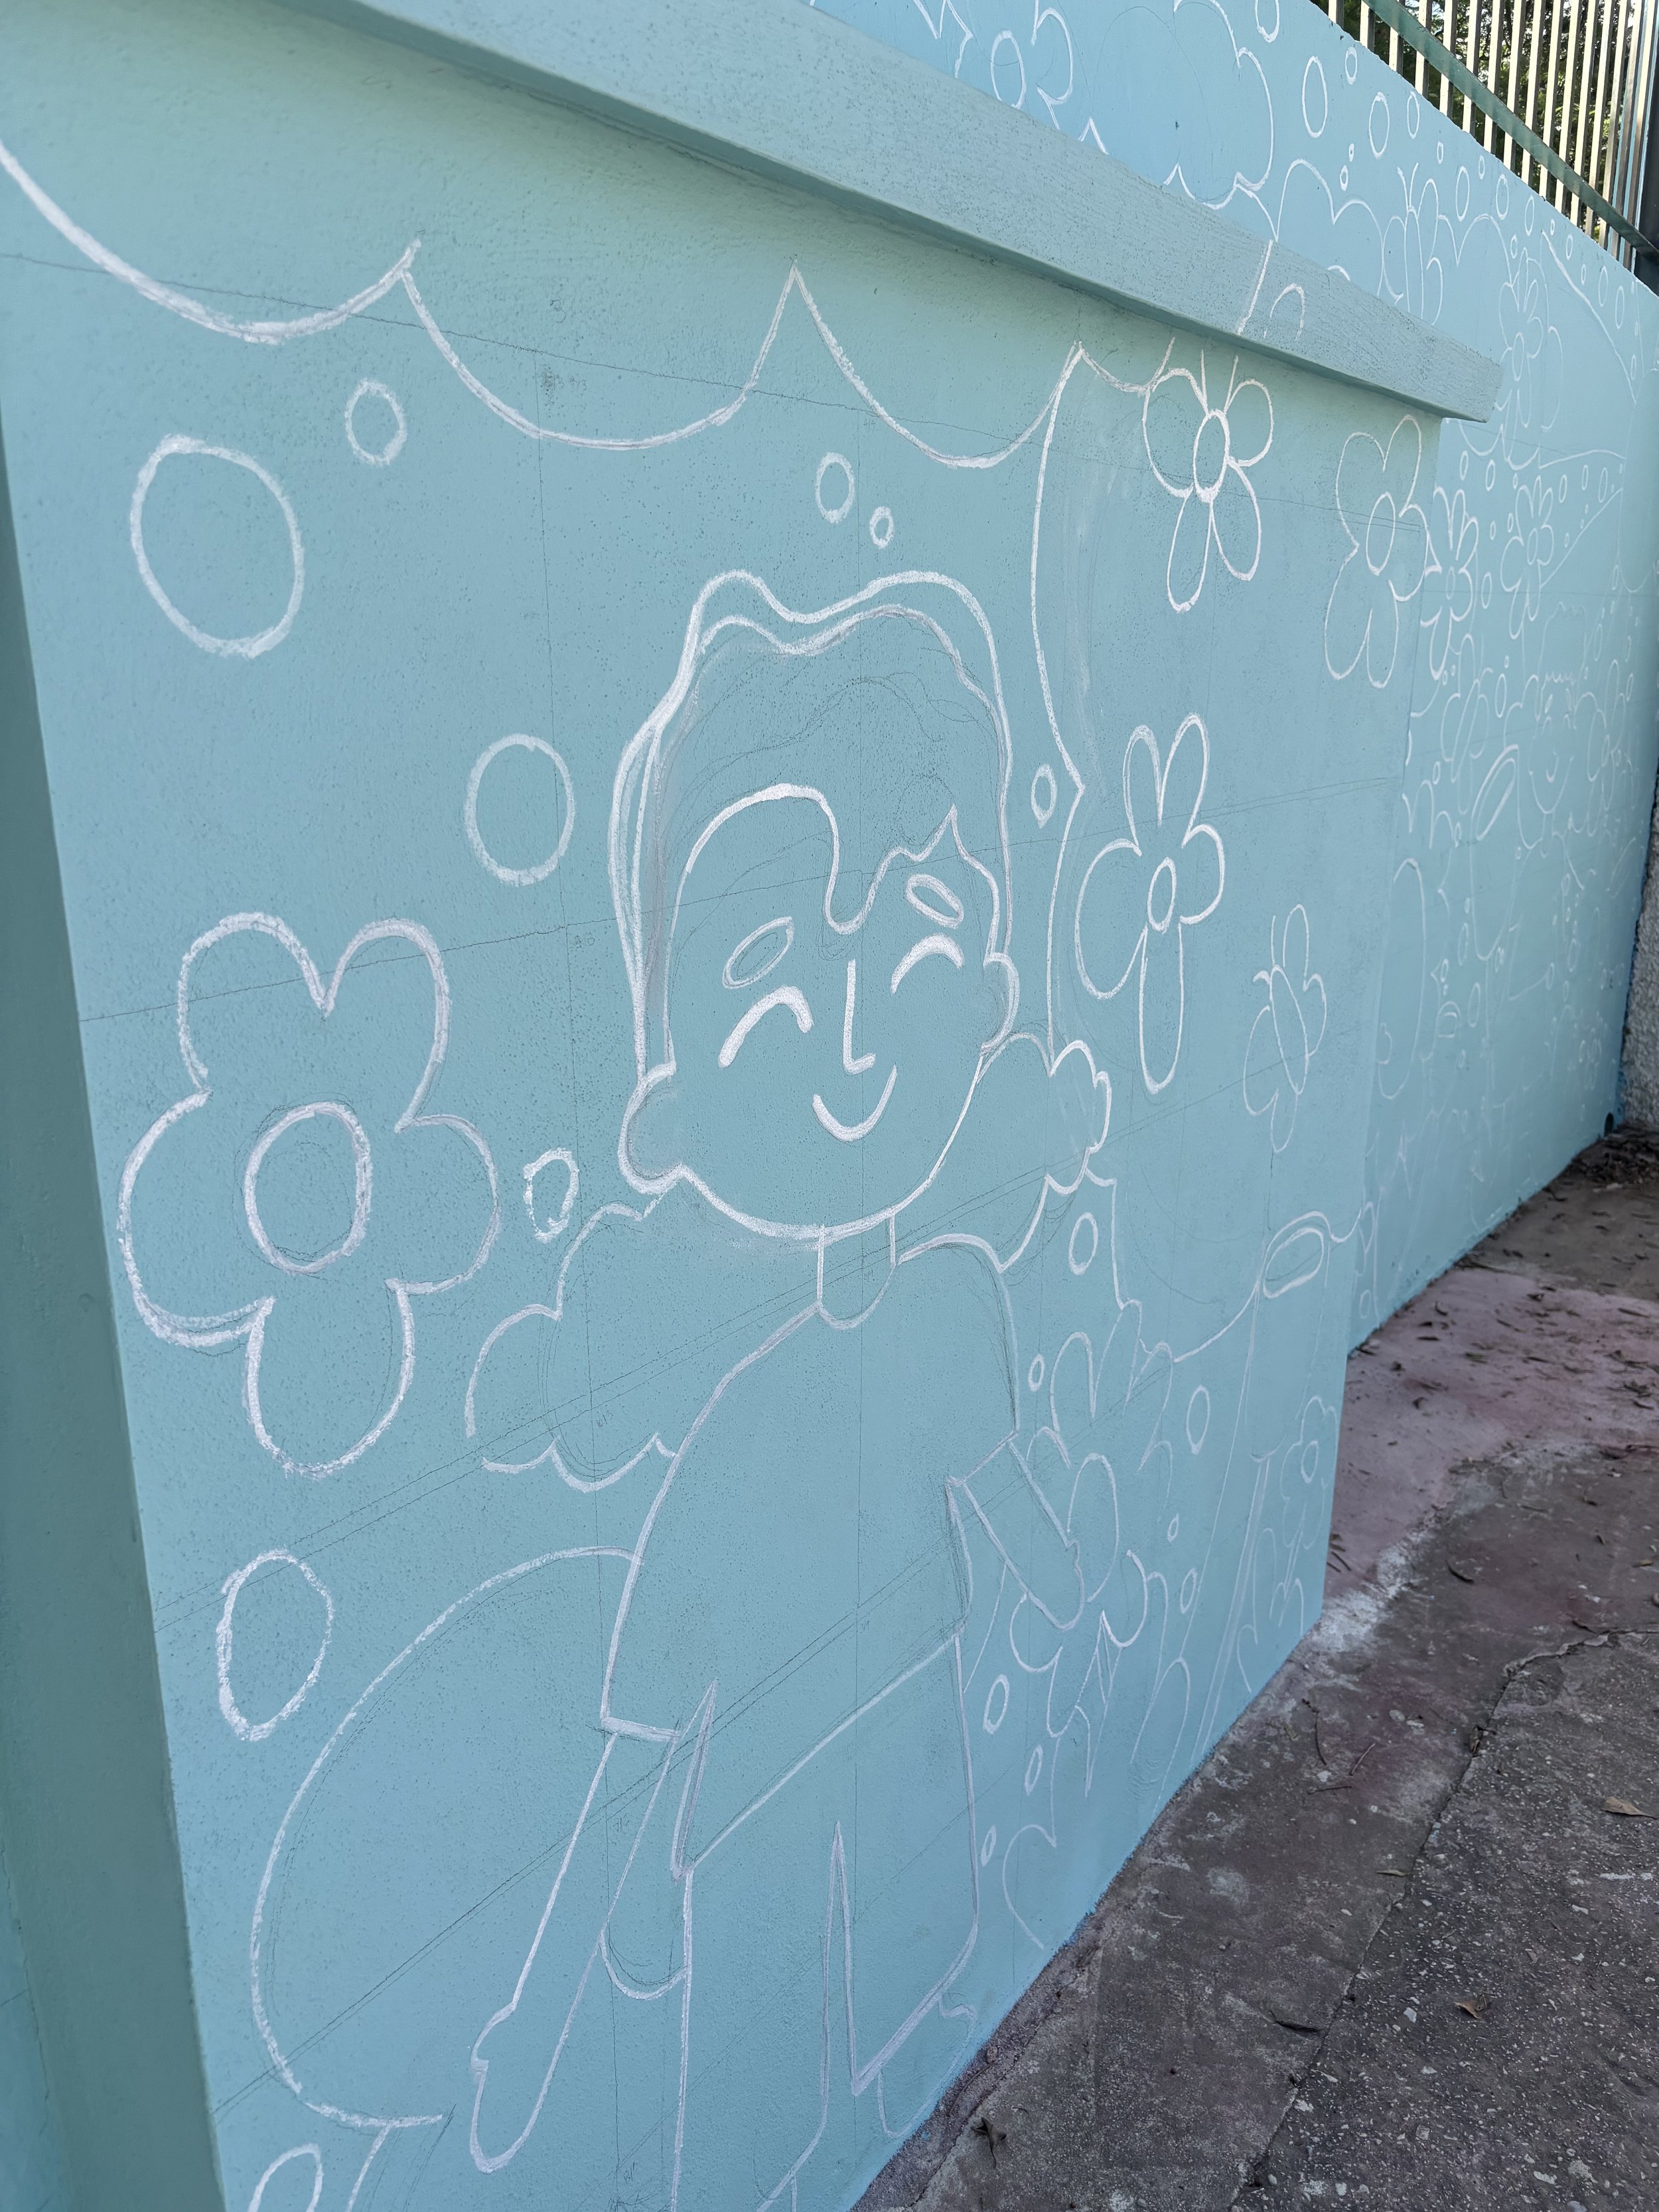
When the pencil outline was complete, the lines were retraced with a chalk pen so they could be seen clearly. At the dollar store, we found white chalk pens that are usually used for blackboards. The white contrasted nicely with the original blue background, making the outline very easy to see. The white chalk pens are nice because they can be easily painted over and don’t bleed into the paint. Using chalk is also great because if you make a mistake, you can use water and a rag to erase it.

The only issue with using the chalk pens is that if you are doing the outline and coming back to paint the mural another day, make sure you check the weather, because if it rains and your wall is exposed to the elements, the chalk will wash away. You could always cover the wall with a plastic sheet for extra safety. After retracing the pencil outline, we also added the numbers corresponding to the colors so the students would know exactly where to paint. We also had a diagram nearby with all the colors and numbers so the painters could reference it as needed.
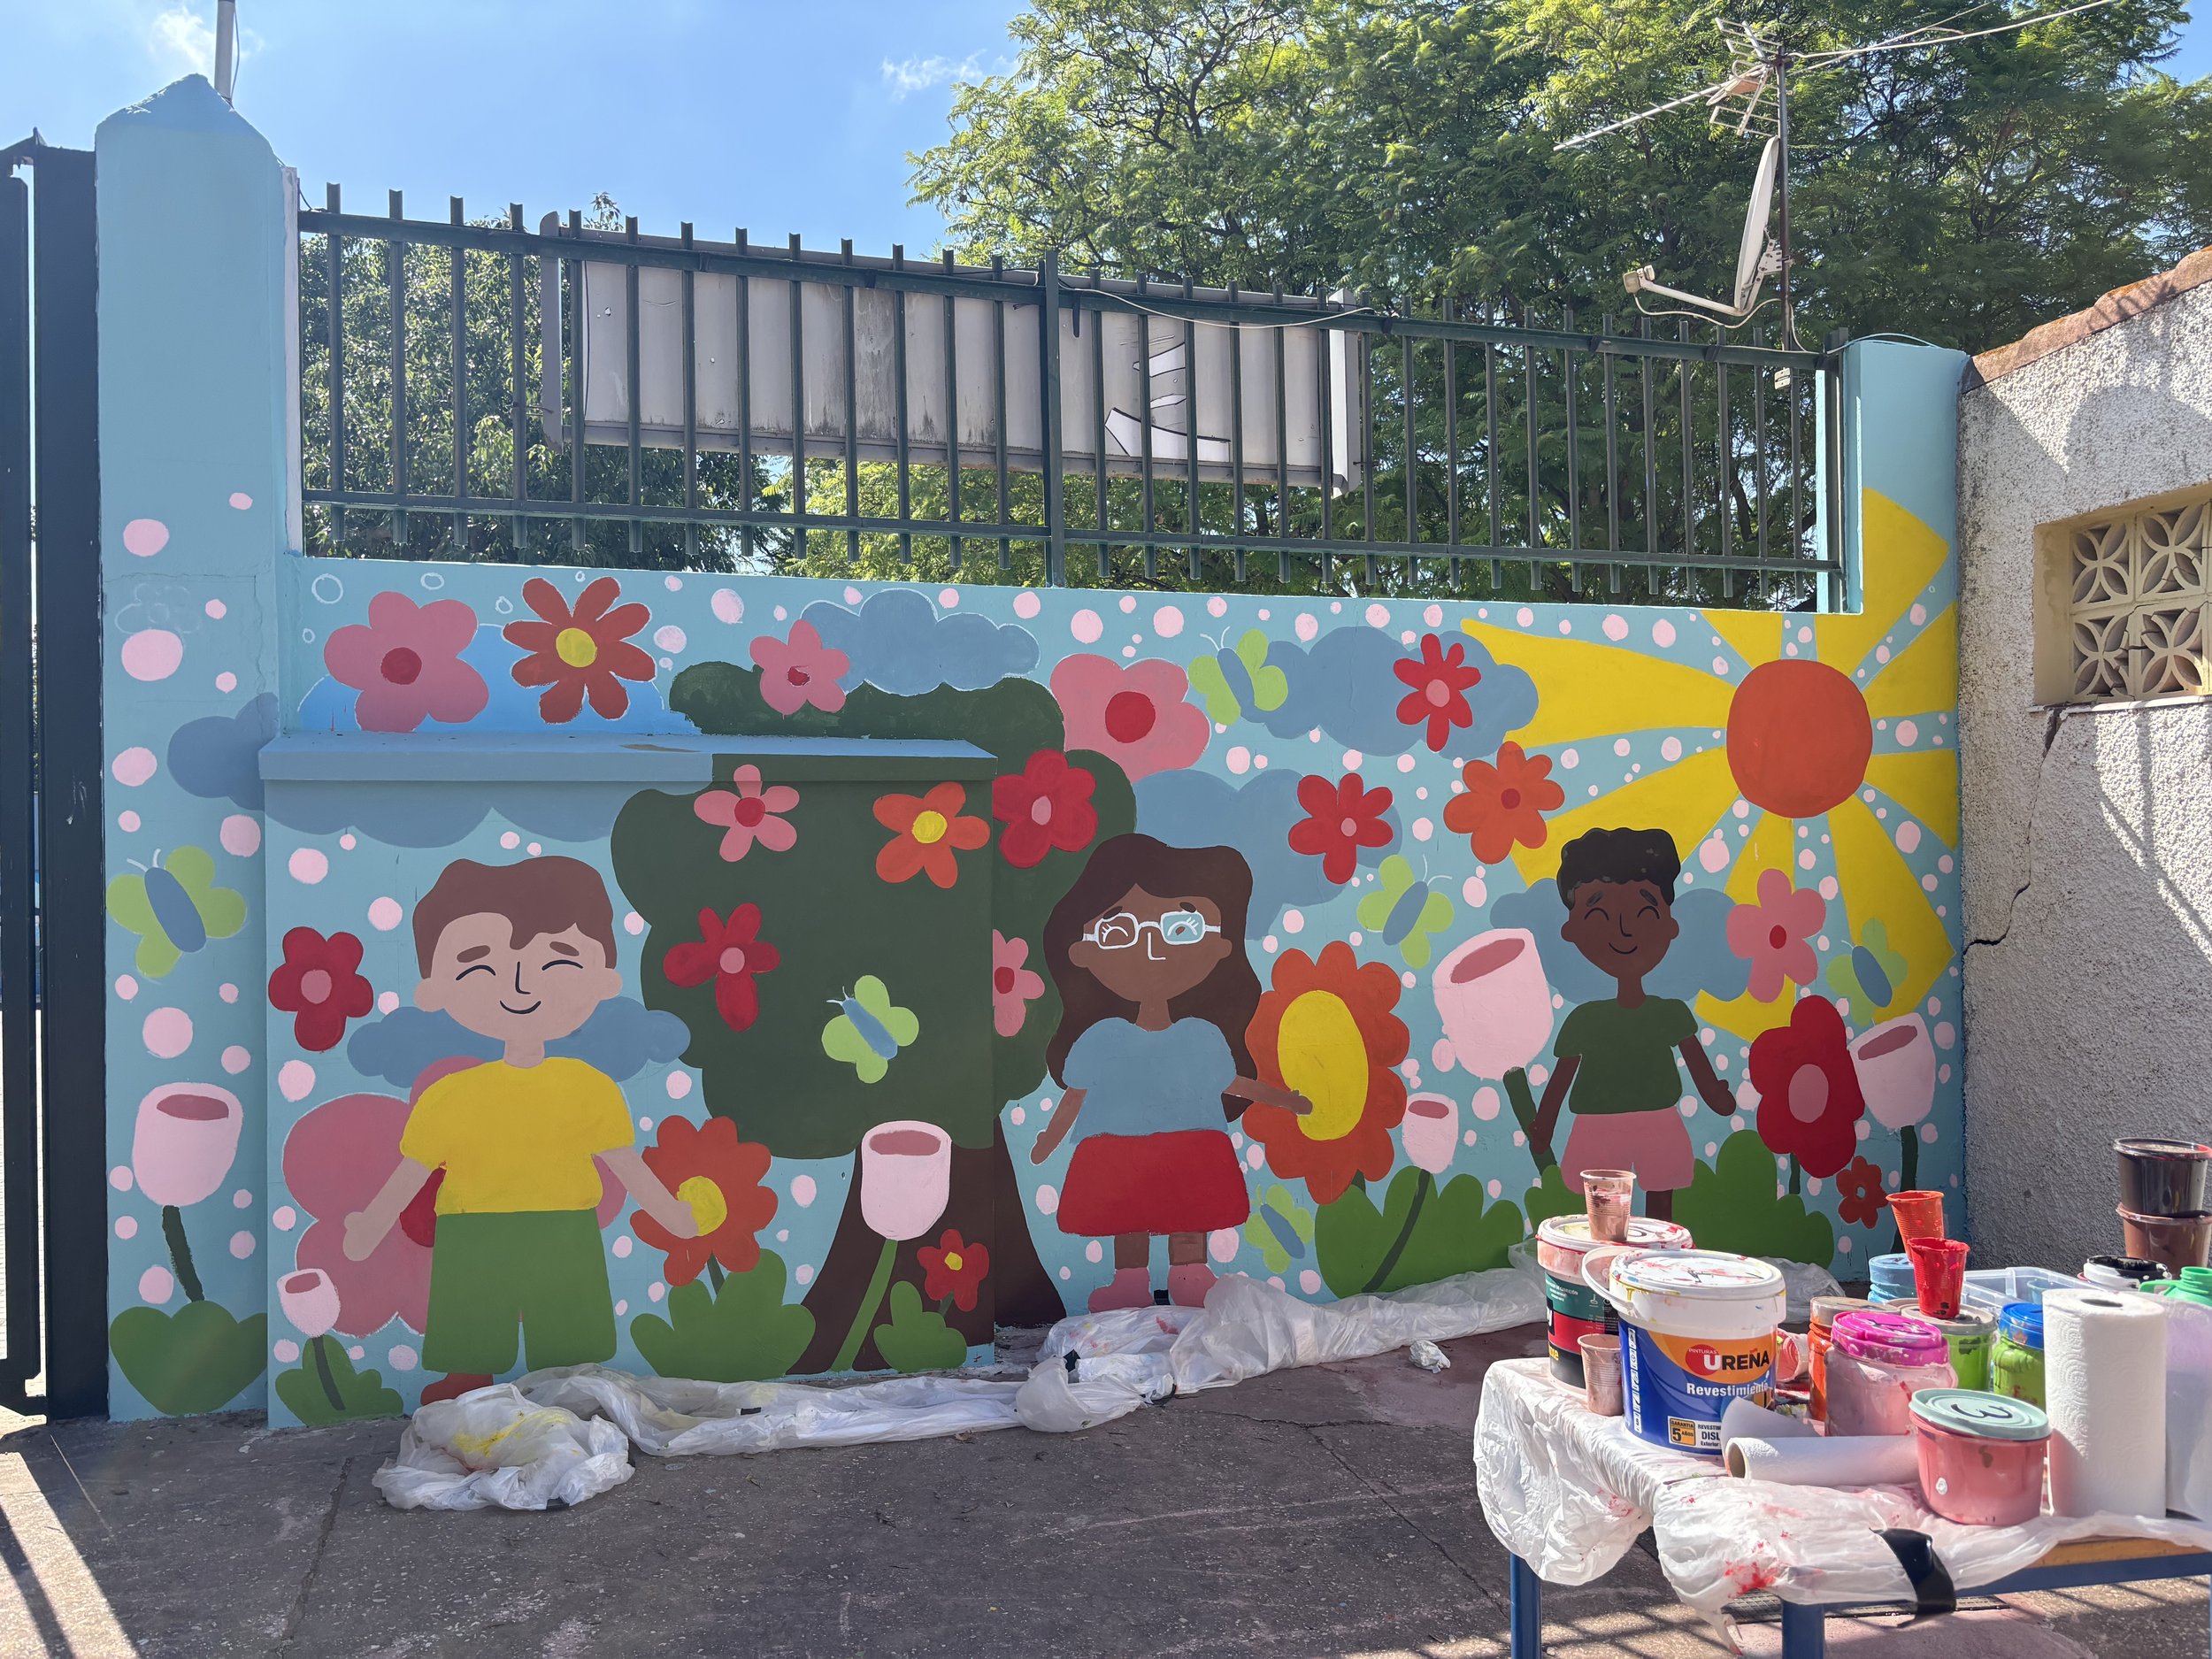
Part 3: Painting
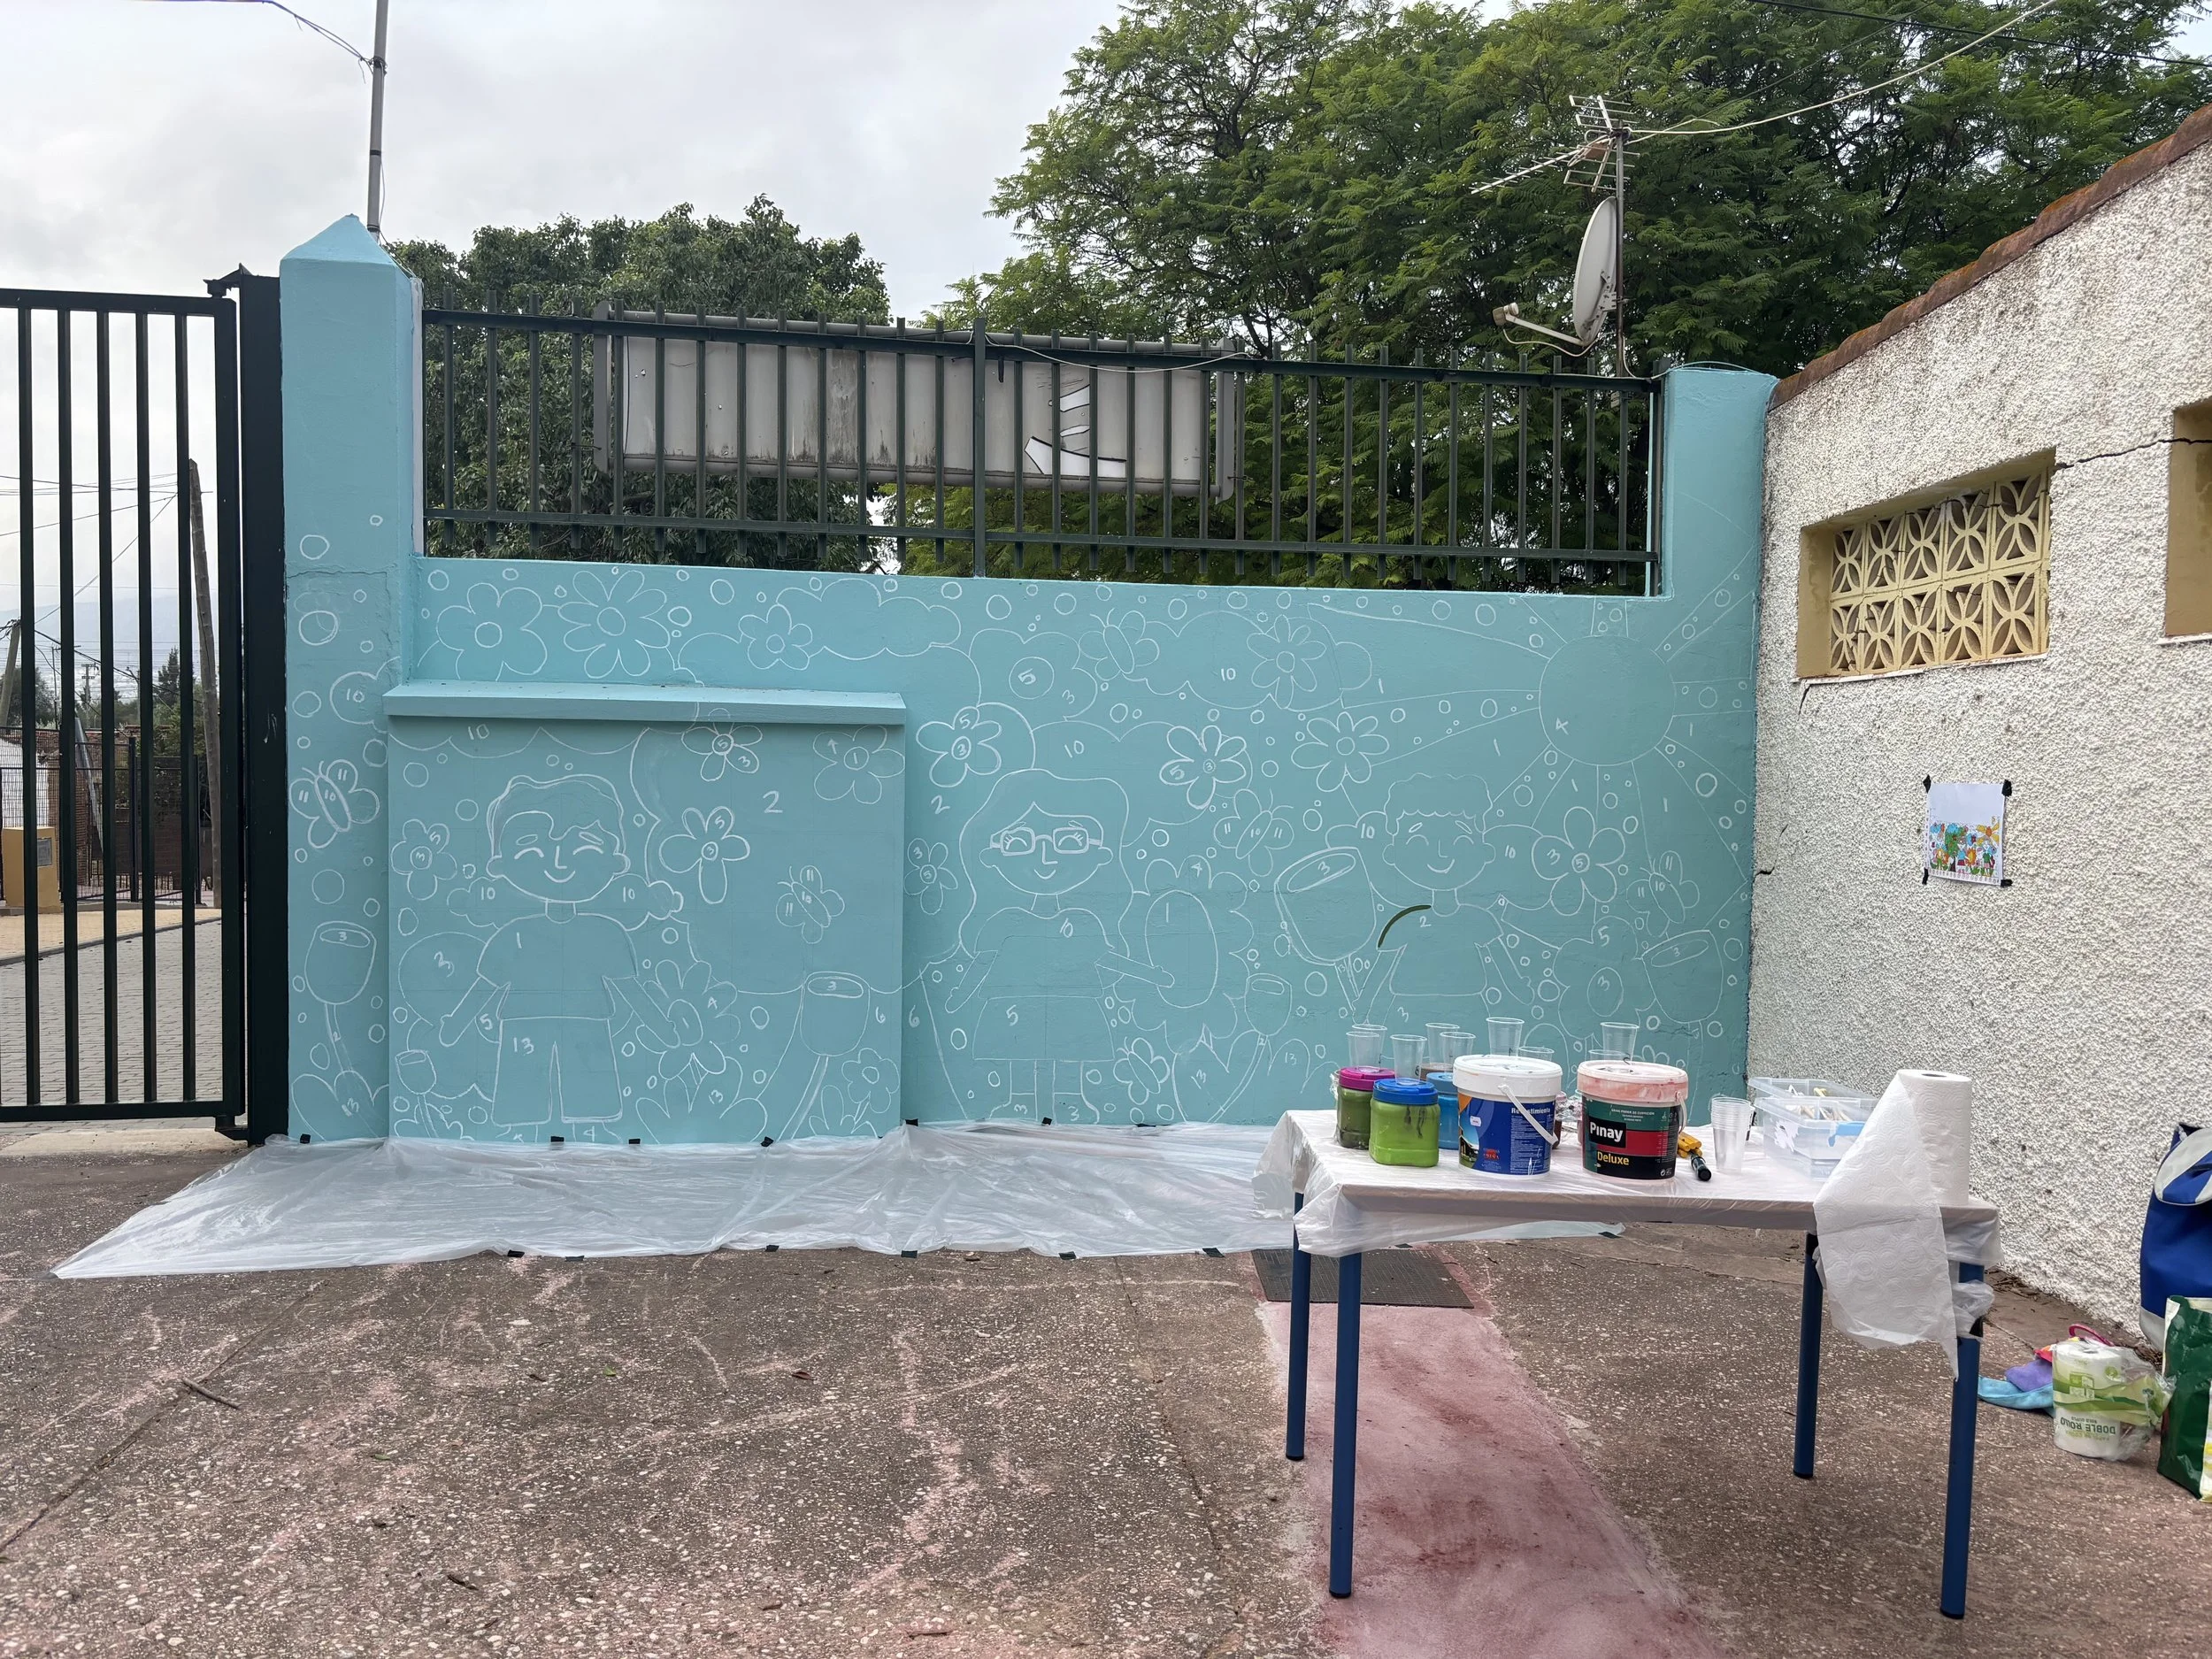
Before we start painting, we mix all of our paints and label them with their specific numbers.
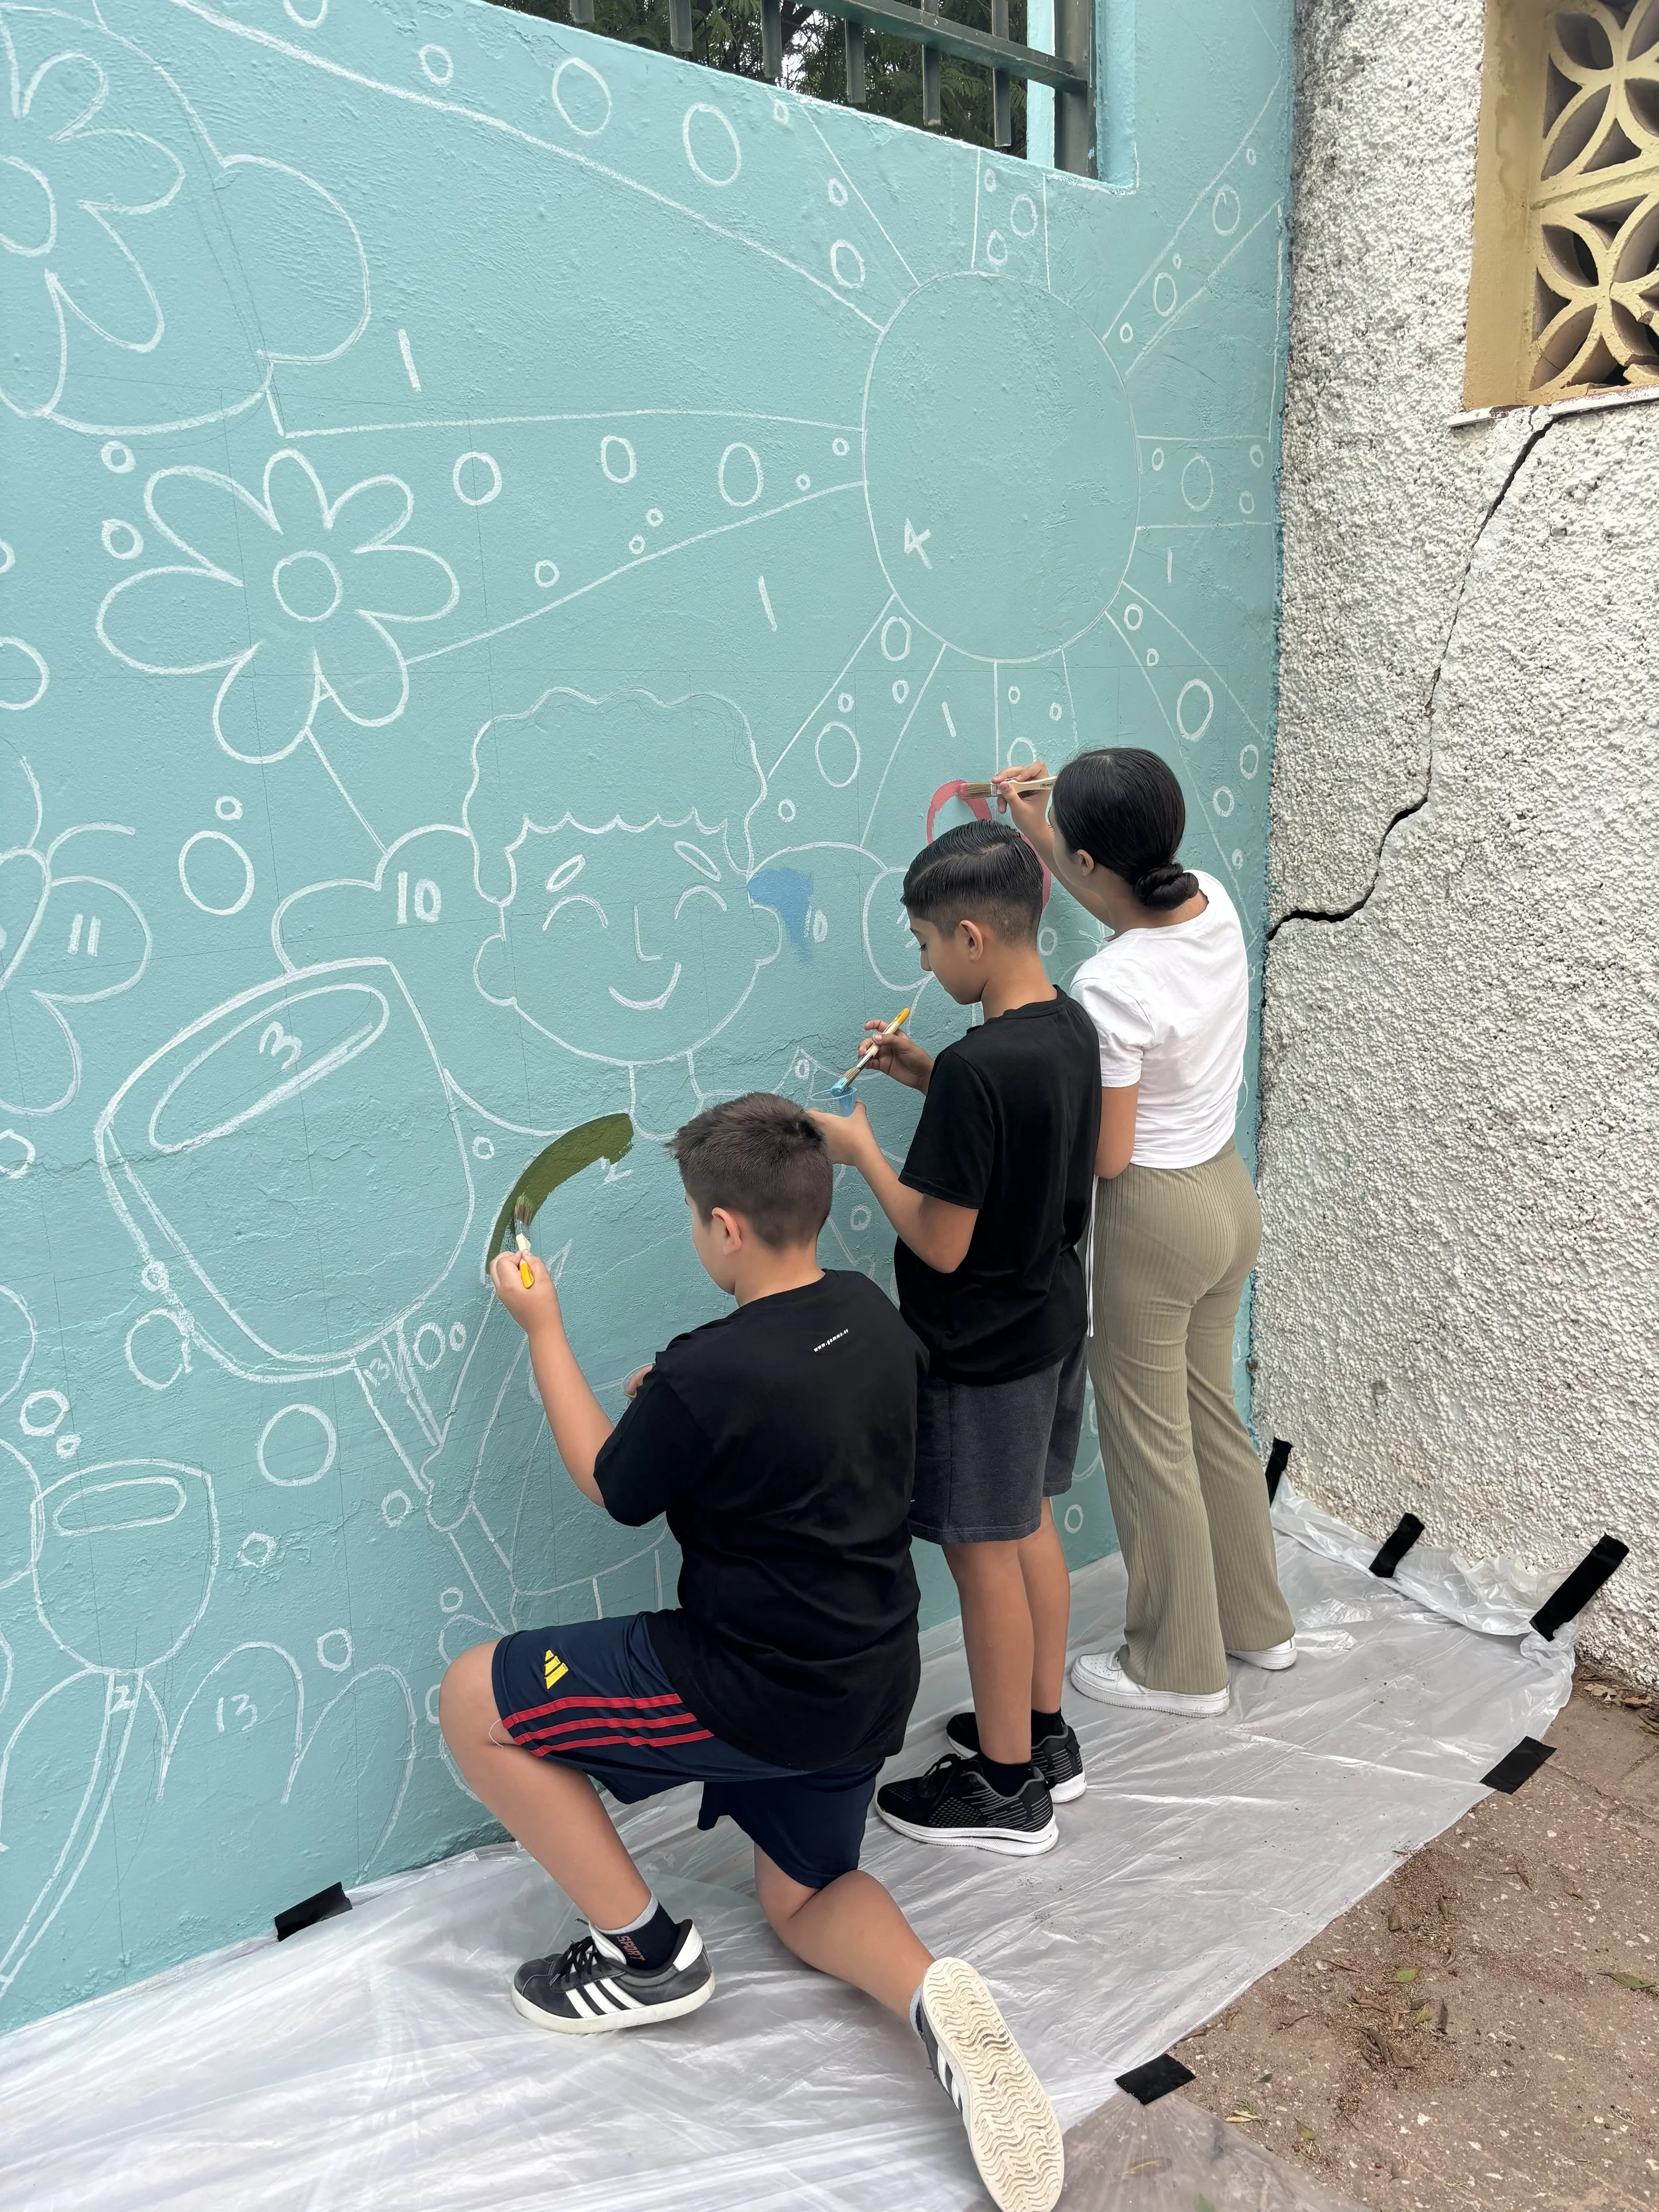
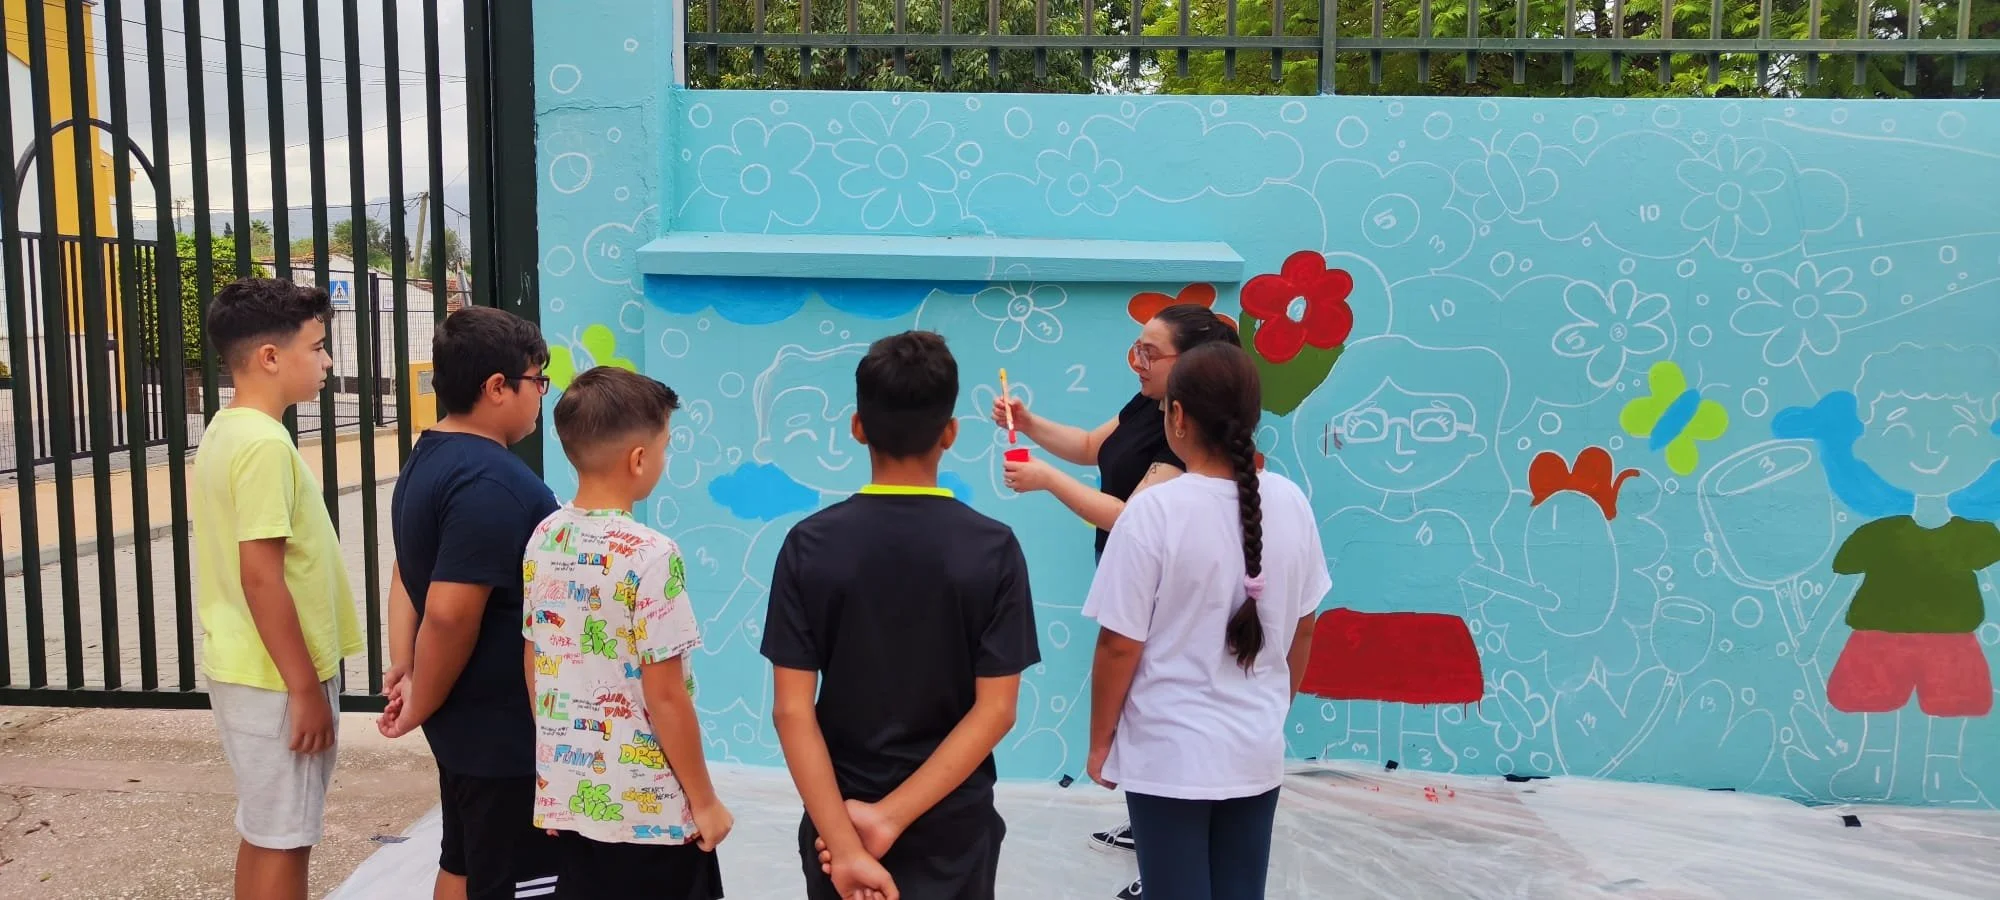
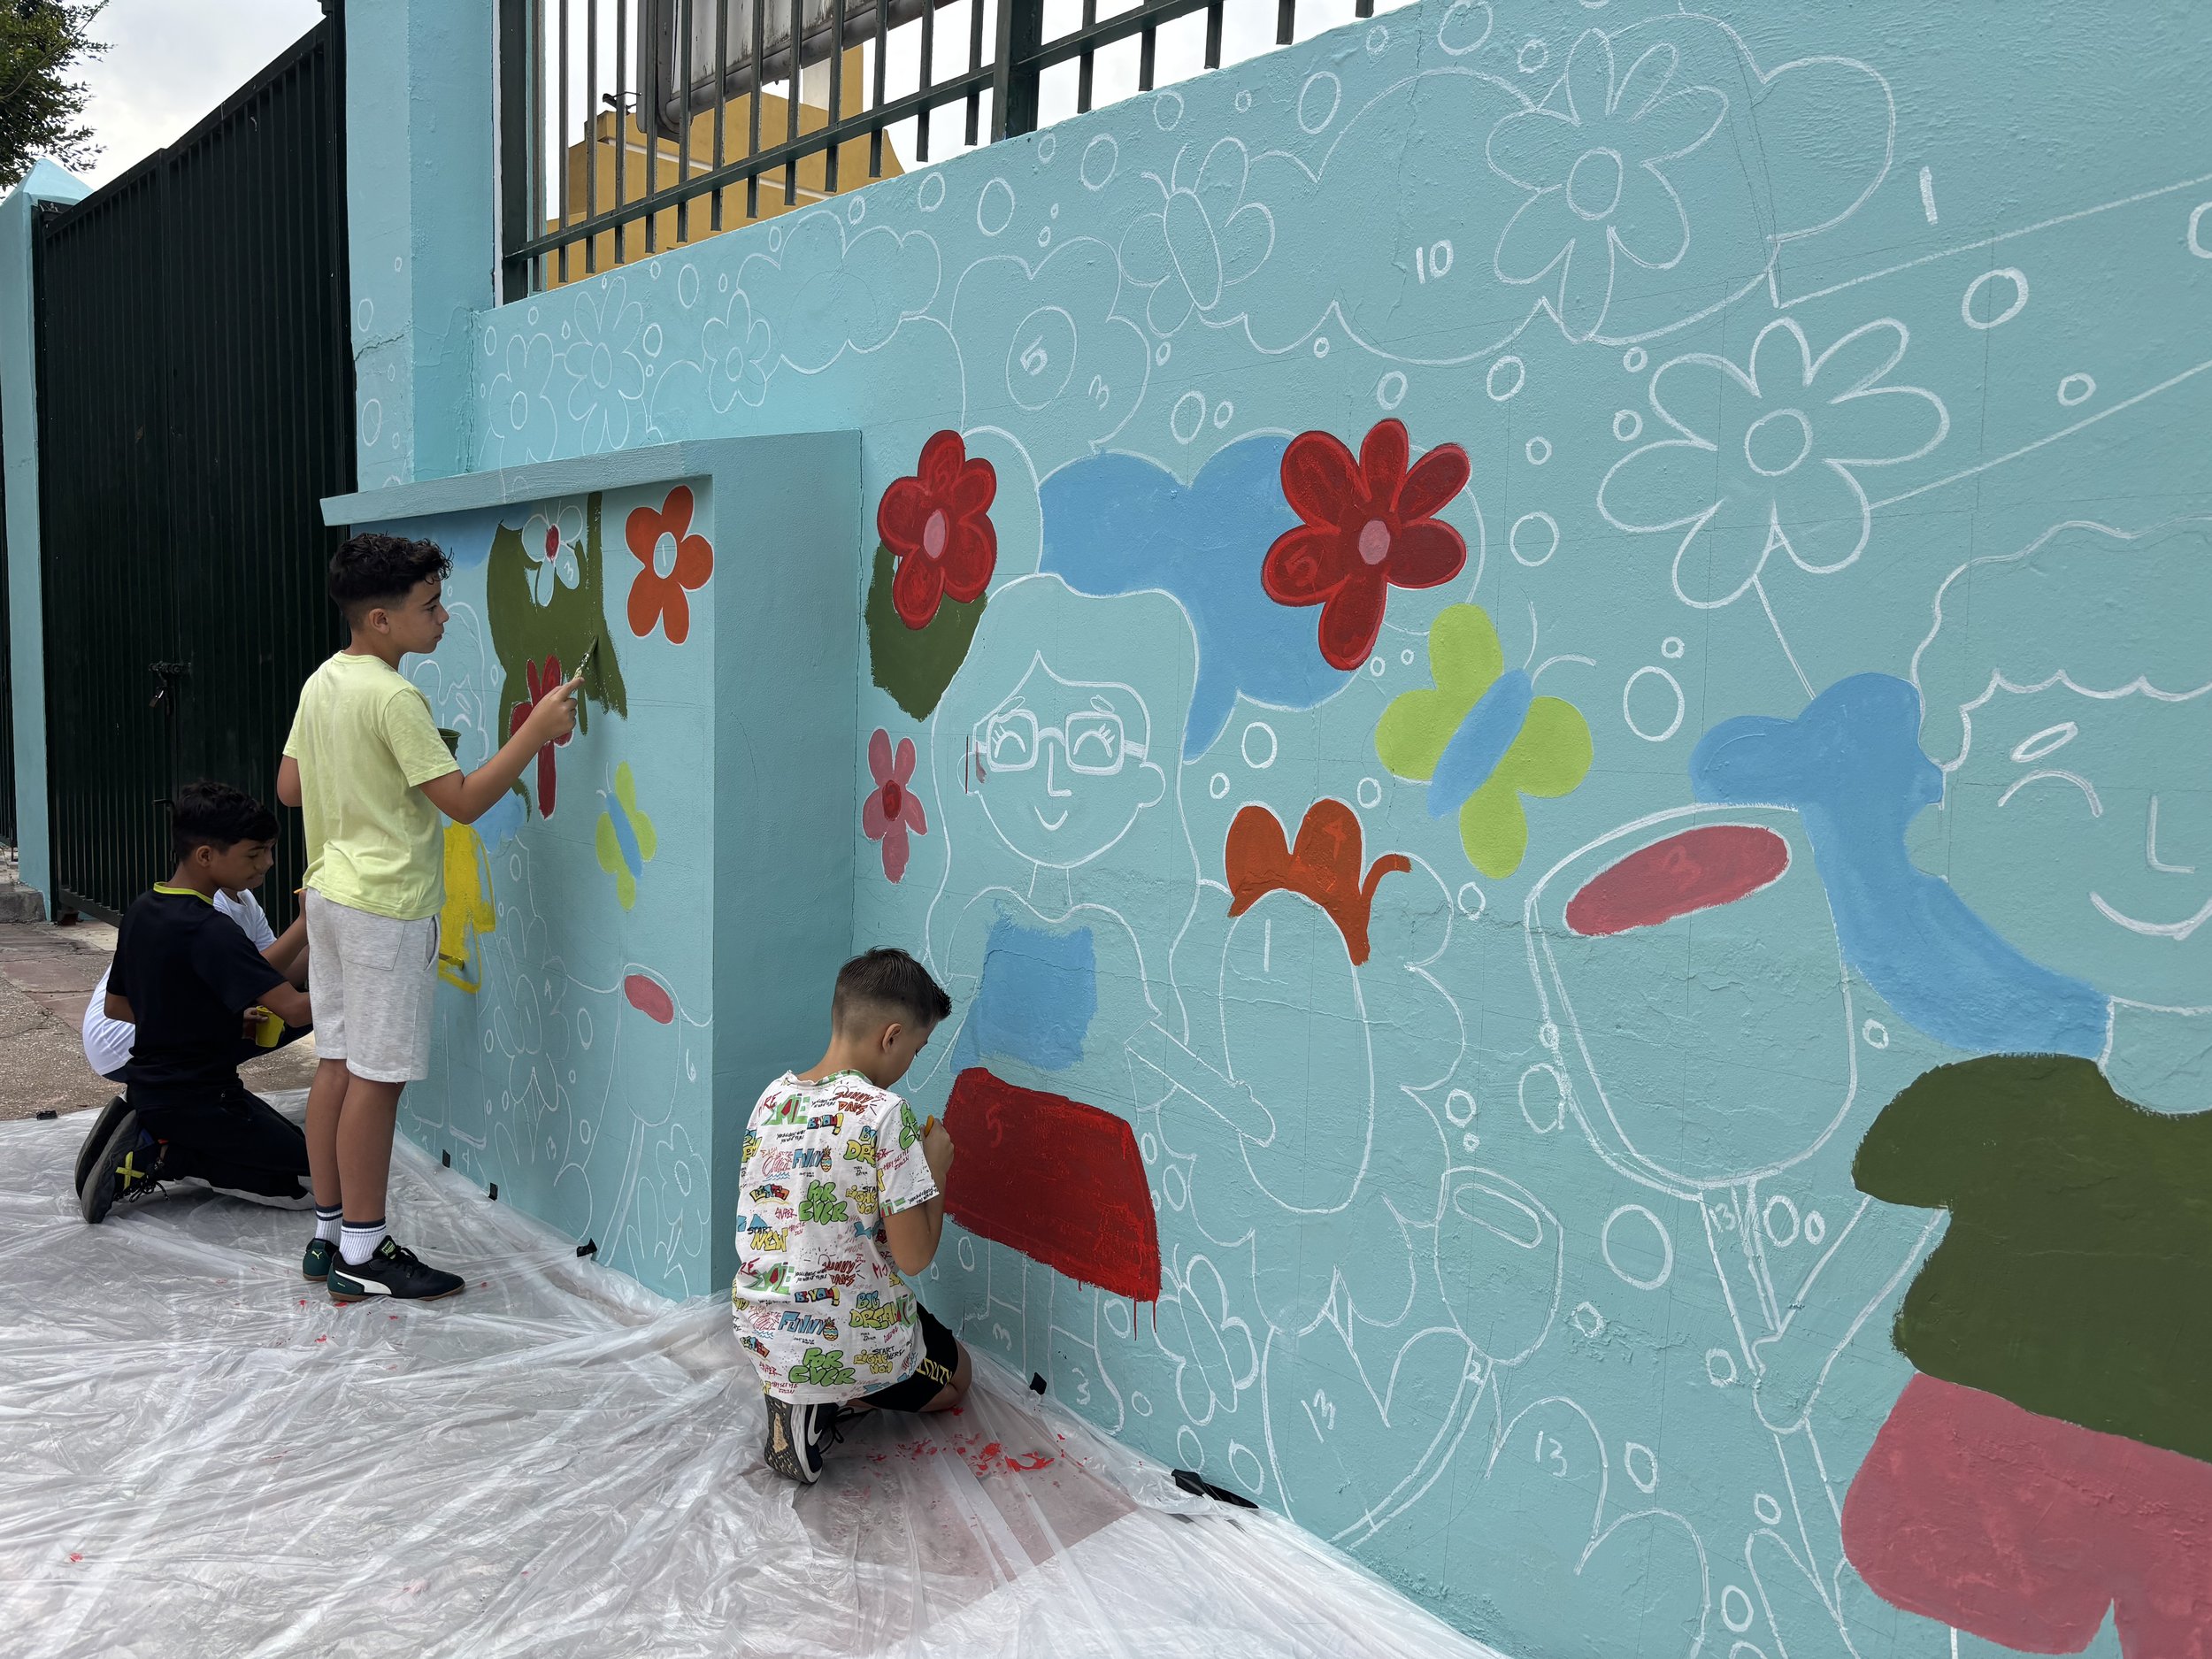
Over the course of two days, we had groups of 4th-, 5th-, and 6th-graders painting the mural. To keep things organized, students chose a color and focused on just those areas. Since we did not have the original wall color, we were unable to test what the colors would look like on top of it. So, even though we had all the colors mixed before painting, we changed and mixed colors that didn’t look quite right, were too light or dark, or didn’t blend well with the background color.
Before each group began painting, we gave them some painting tips and, most importantly, a reminder that paint can be painted over, so if paint drips or they make a little mistake, it is totally fine. The point of this project is for the students to have fun, be creative, and leave a lasting impact on their school community.
Students painting!

Students painting and younger students watching on!
Day 1 of students painting
Day 2 of students painting

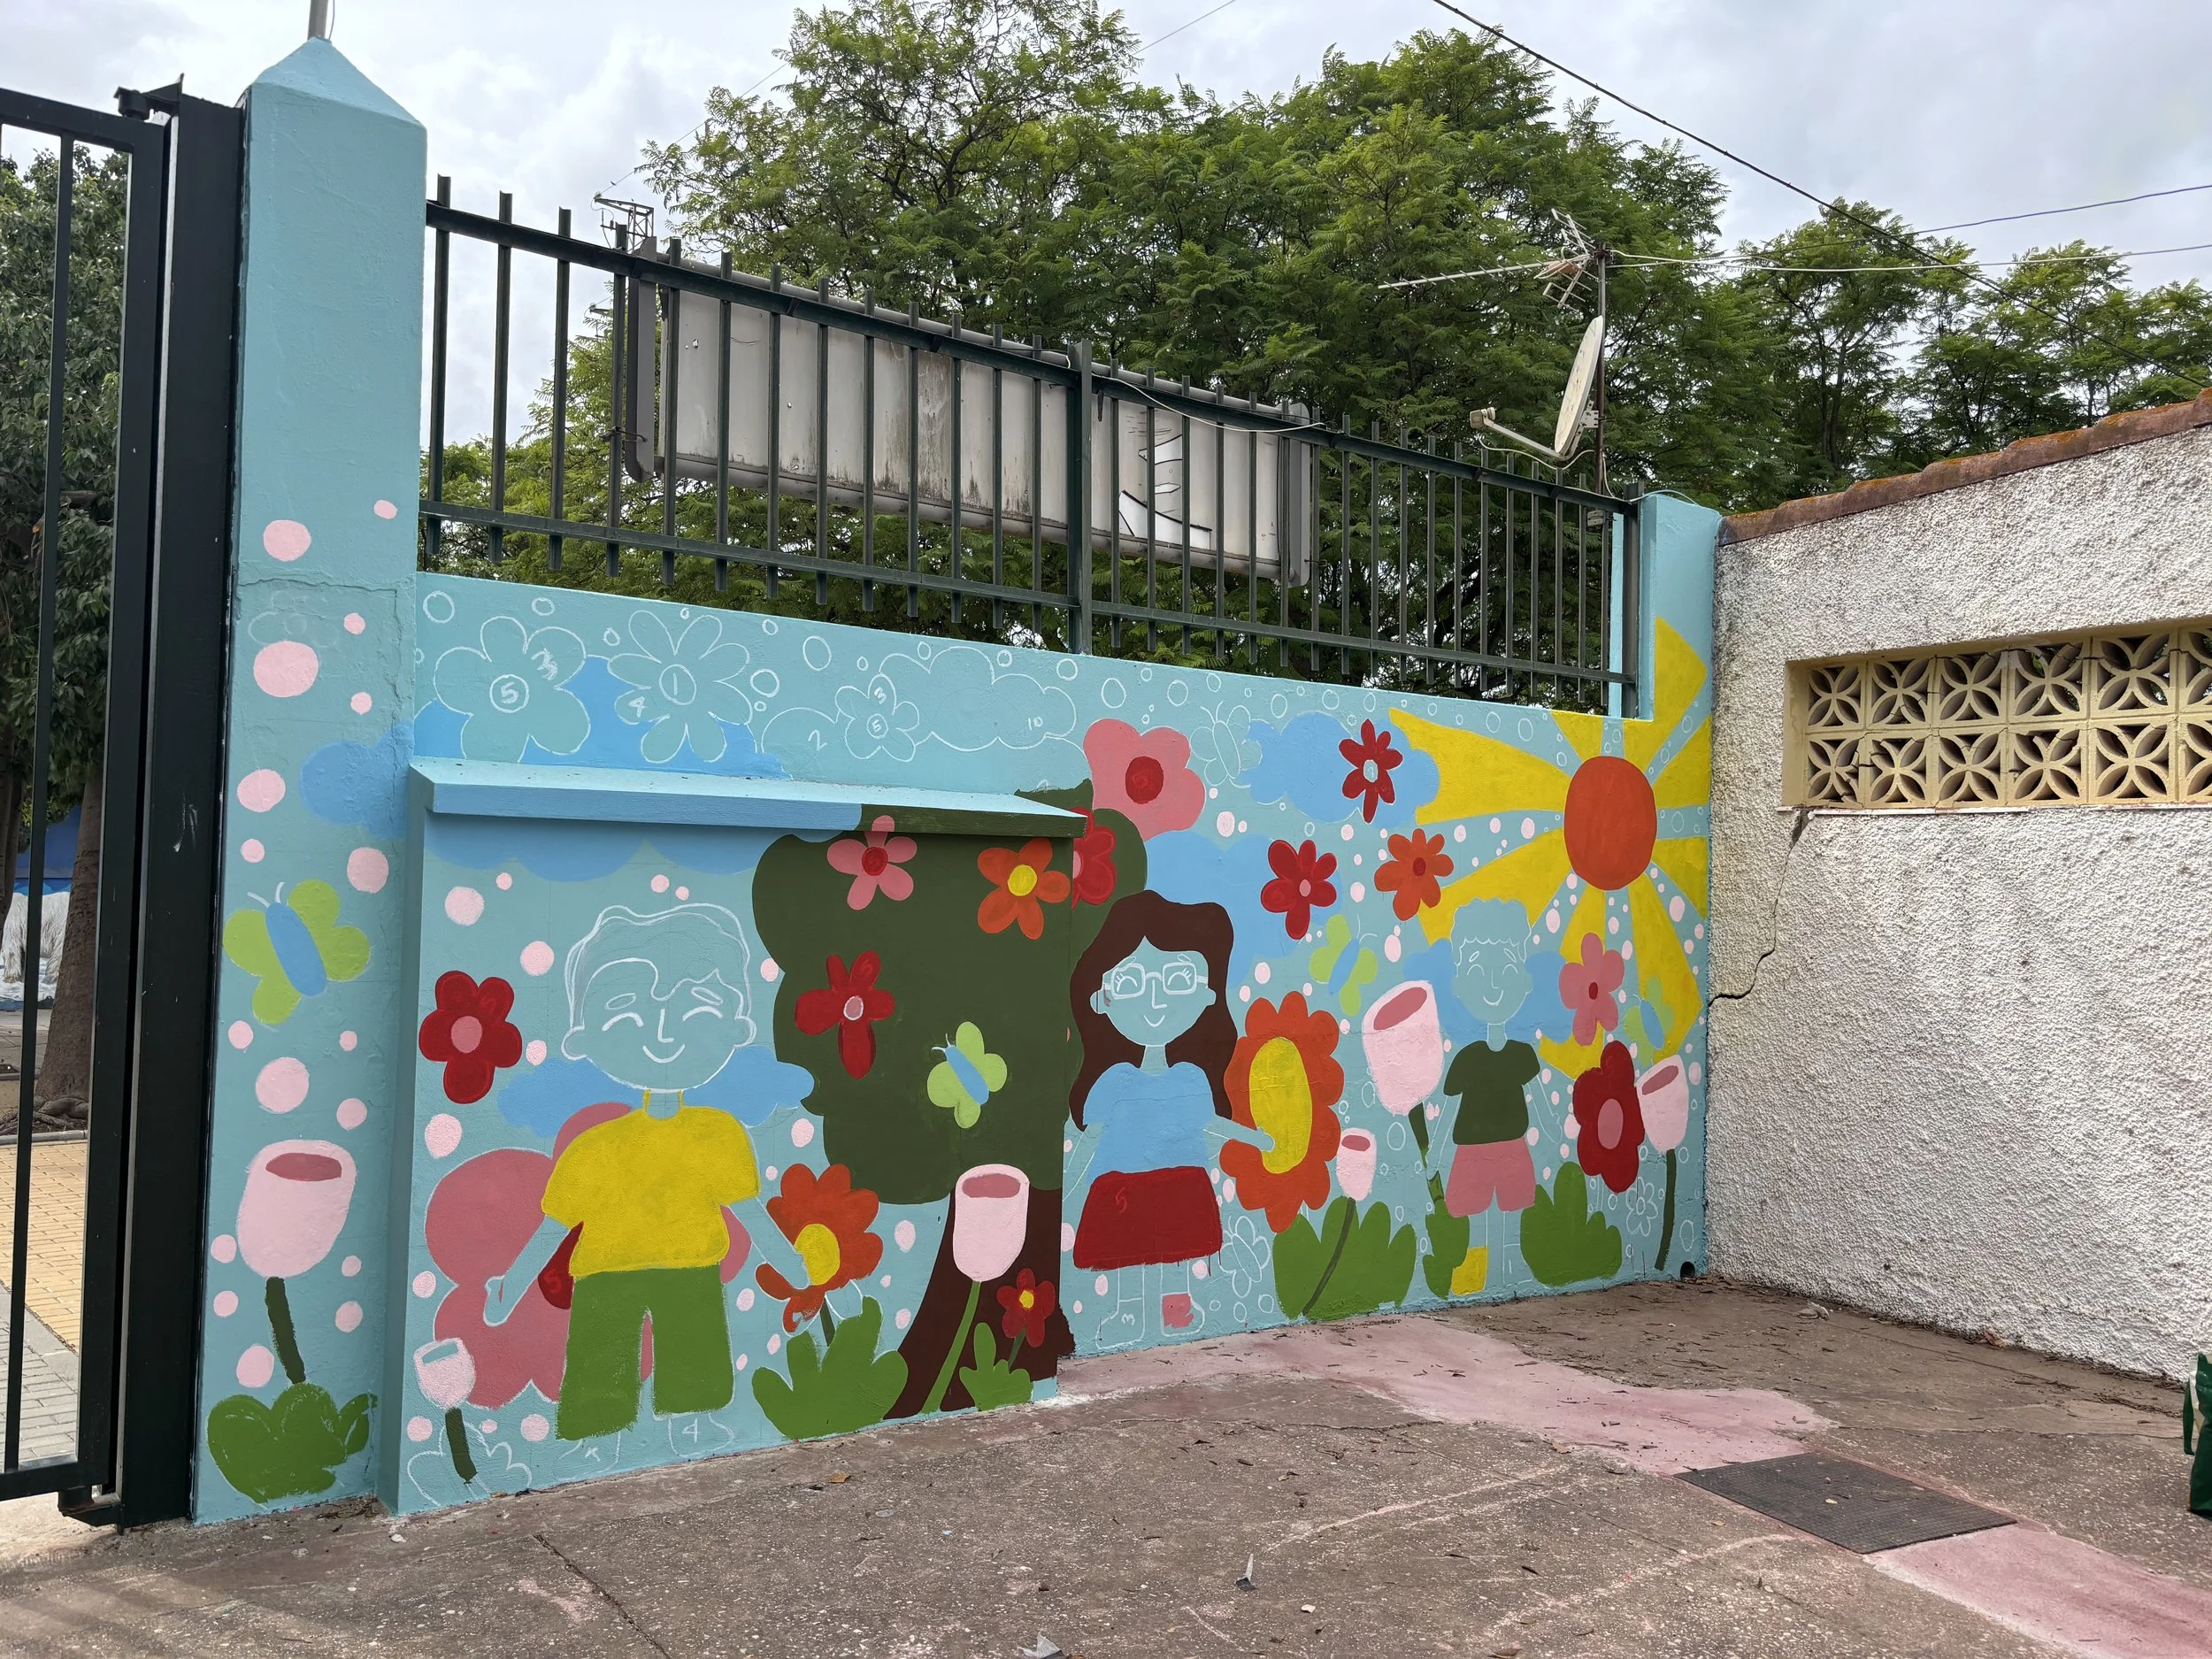
After students finished painting, we spent a few days adding extra details and the school logo to their shirts. We traced the logo onto tracing paper and then onto the students' shirts. In some cases, varnishing/sealing the wall after you are done painting is necessary. Make sure to ask when buying your paint! In all, we spent 7 days preparing the wall—outlining, painting, and priming it—not to mention many days designing the mural.